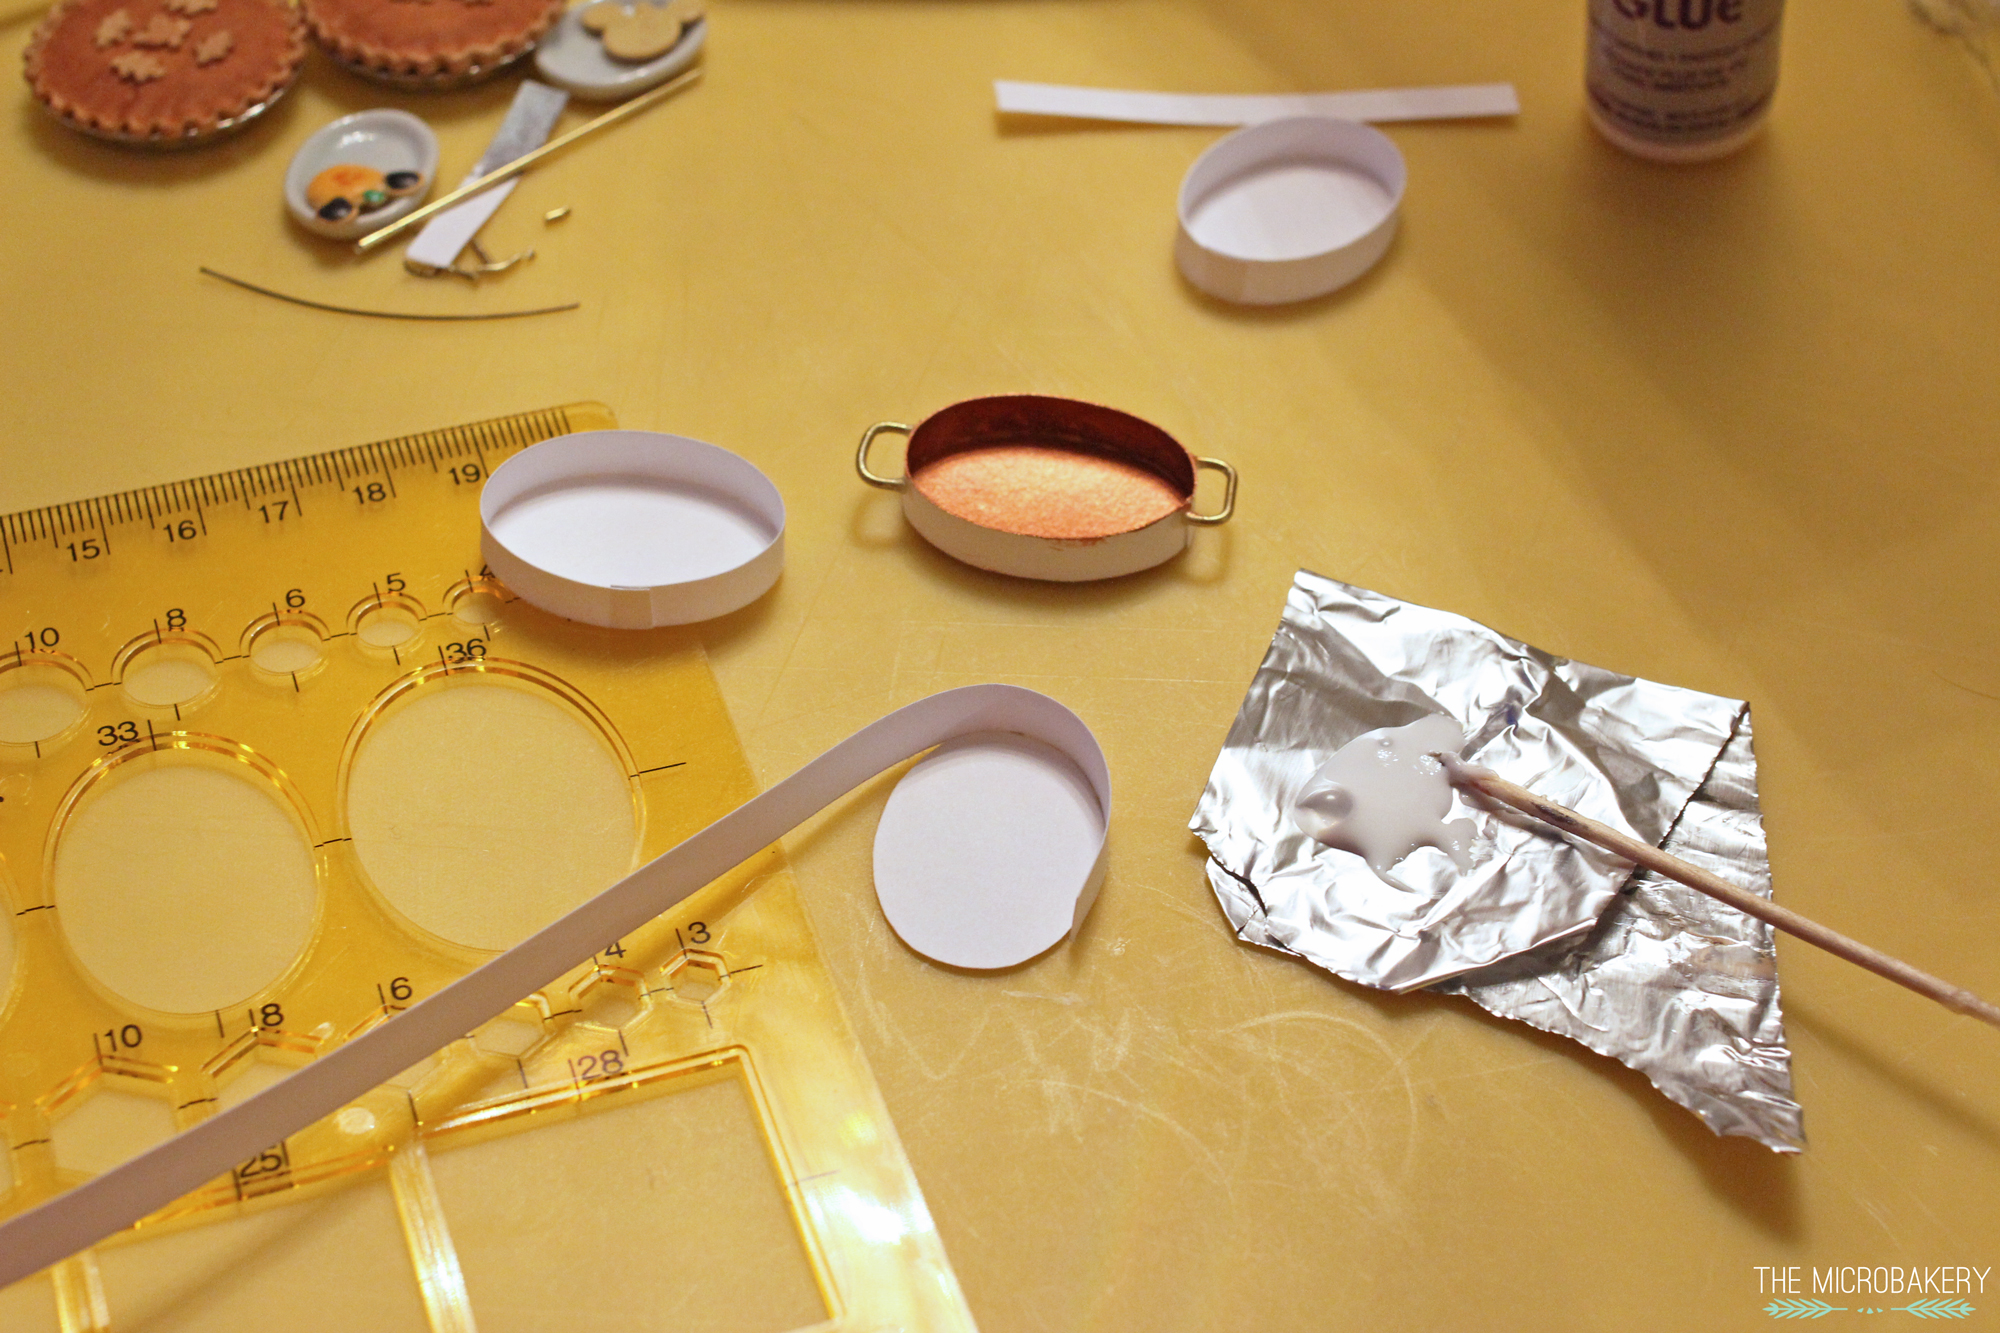
I used an oval template to trace and cut the bottom oval part of the pan on card stock. Then played around with the height of the pan walls until it looked proportional. You could also use a manila folder, thin cardboard, or any sort of paper that is thicker than standard letter paper.
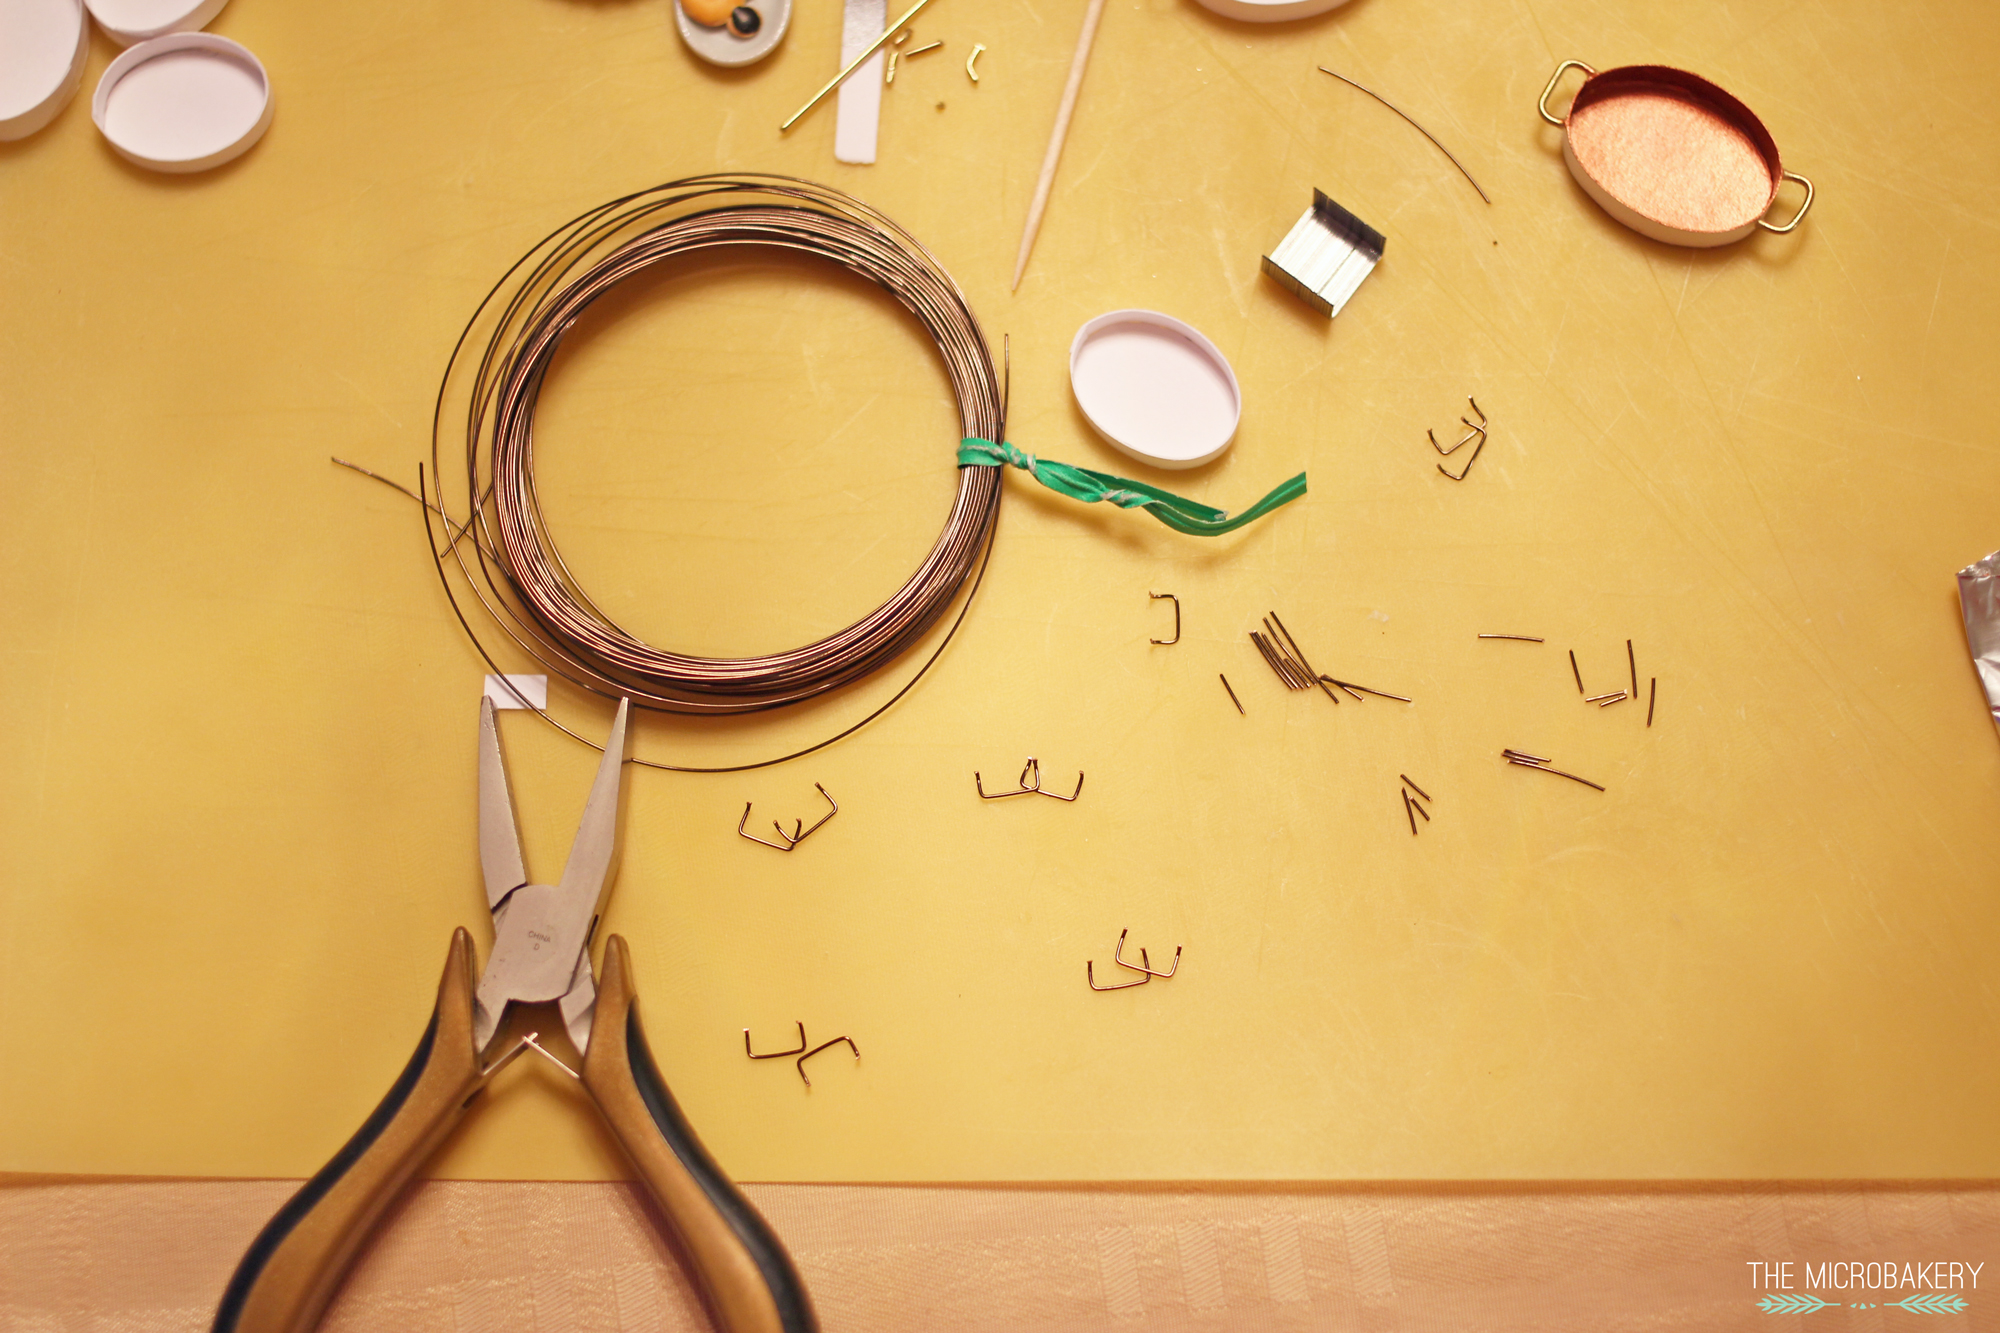
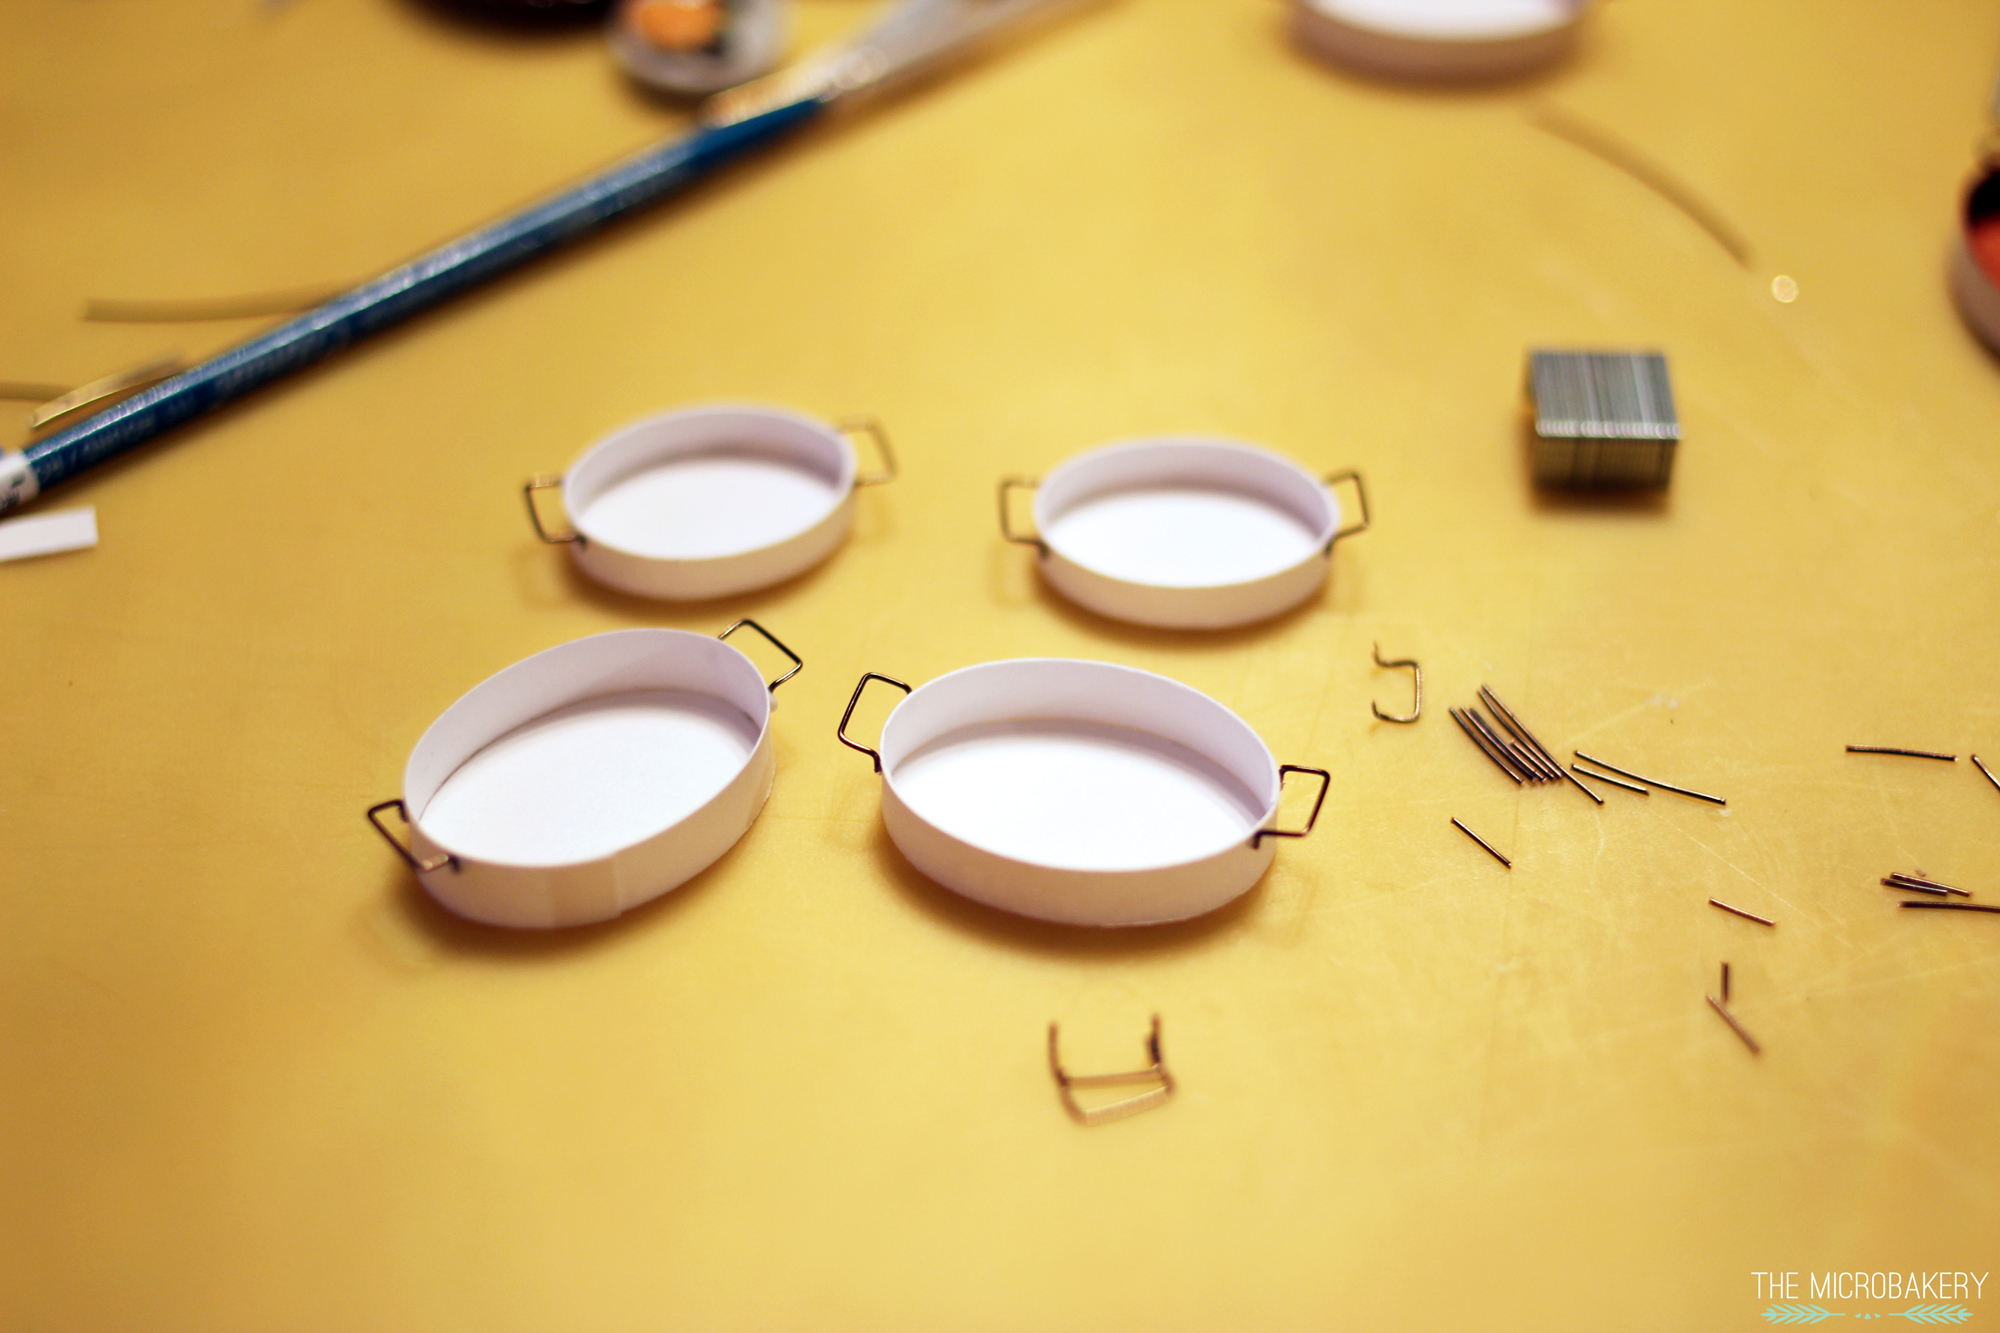
There were two sizes of wire and I decided to go with the smaller gauge, plus, it was much easier to bend. I pinched the ends of the handles so that it had a flattened surface to attach better to the card stock. It would have been perfect if I had a gauge in between the thick and thin one, but...oh well?
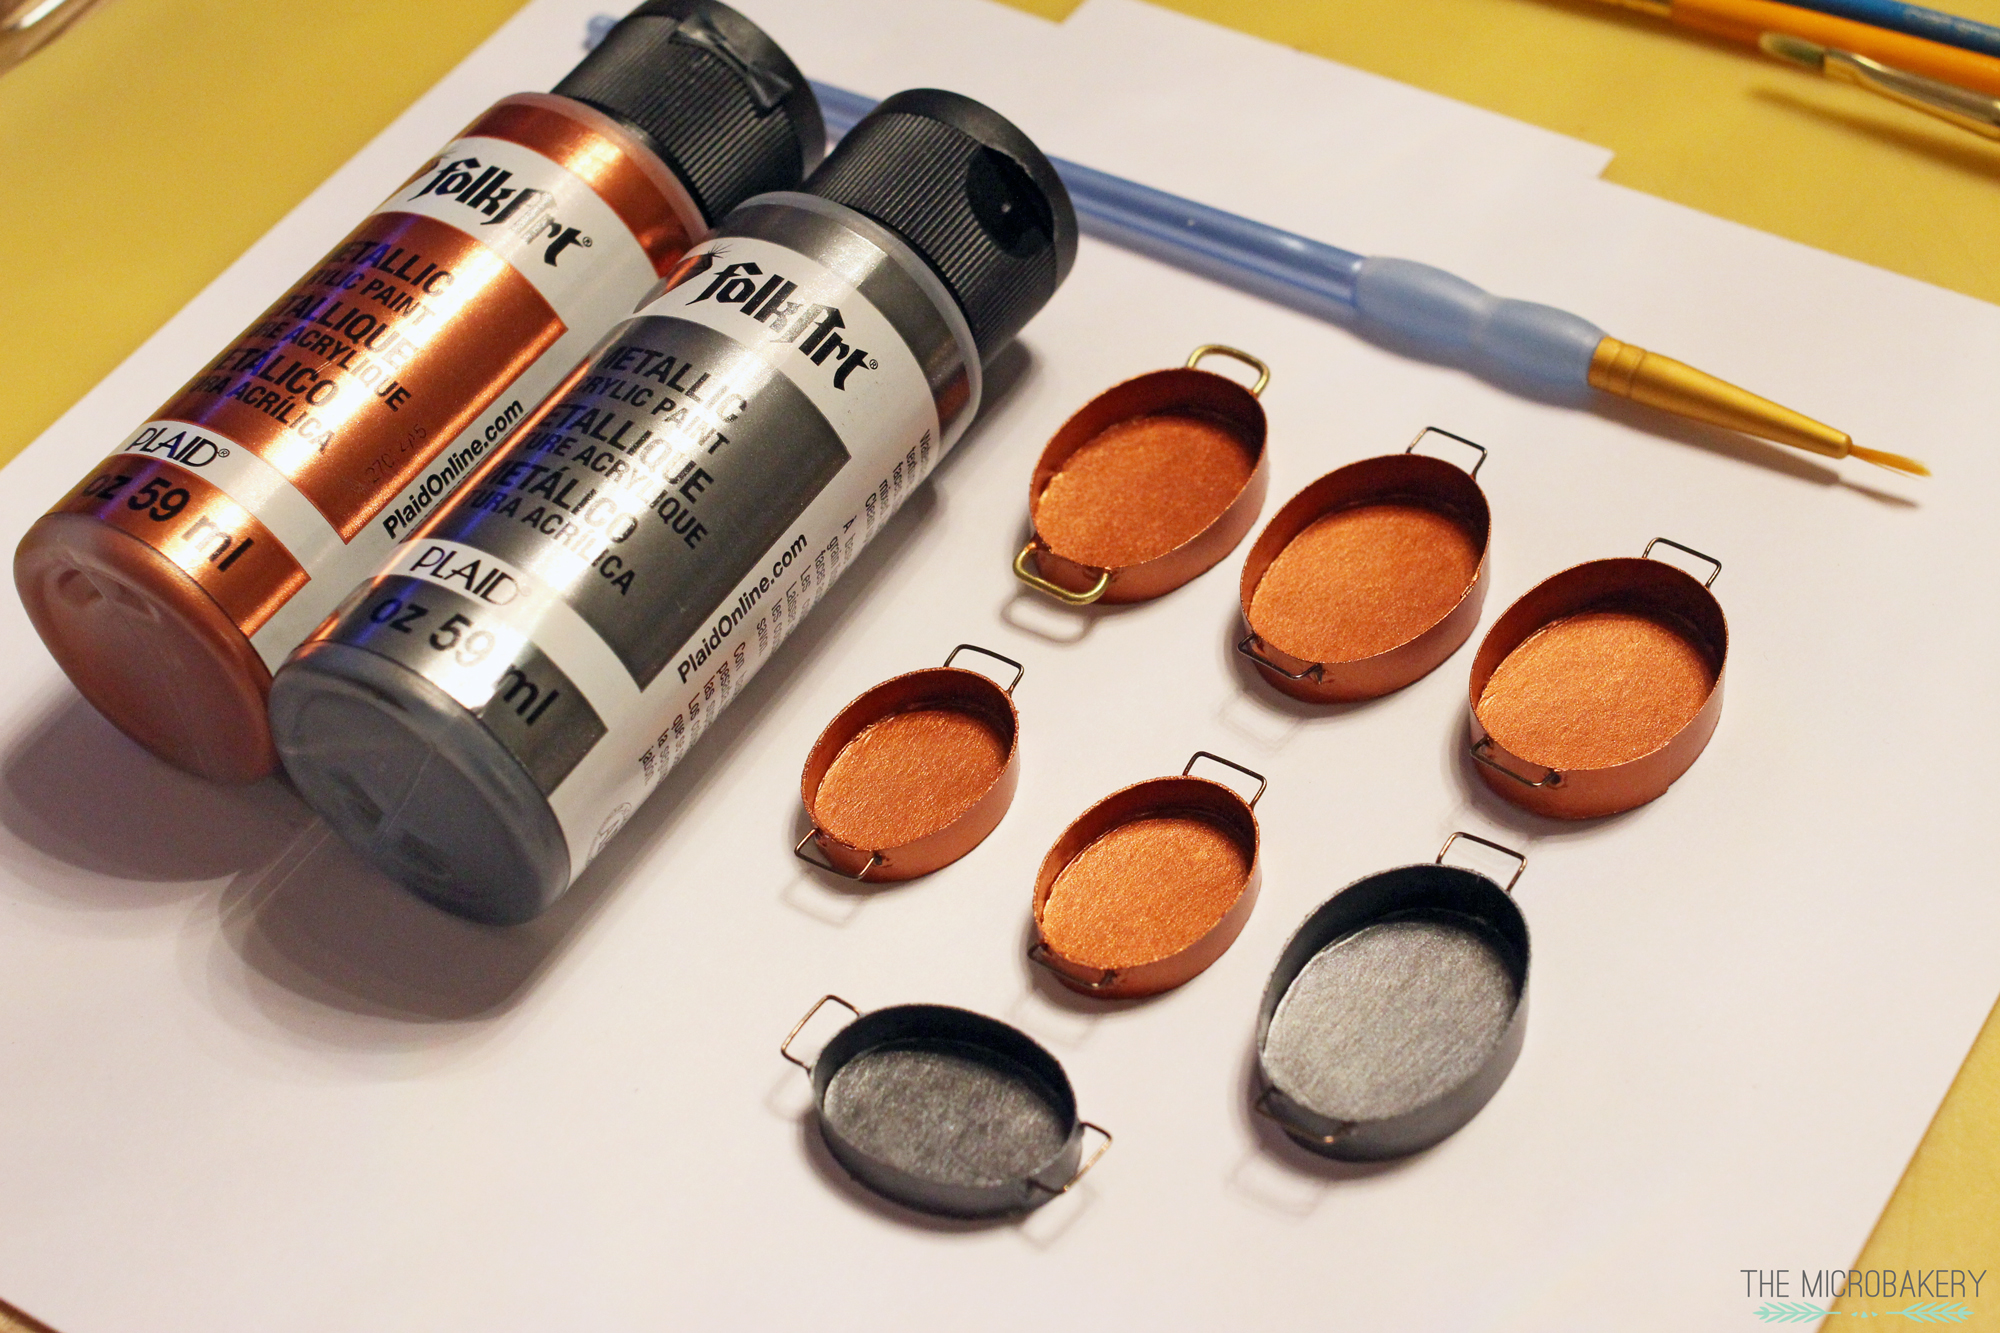
I used FolkArt metallic acrylic paint and applied two thin layers on every surface to increase opacity. Just note if using card stock, let the paint dry well between layers. If you paint the paper too soon, the paper begins to warp because it is too saturated with liquid.
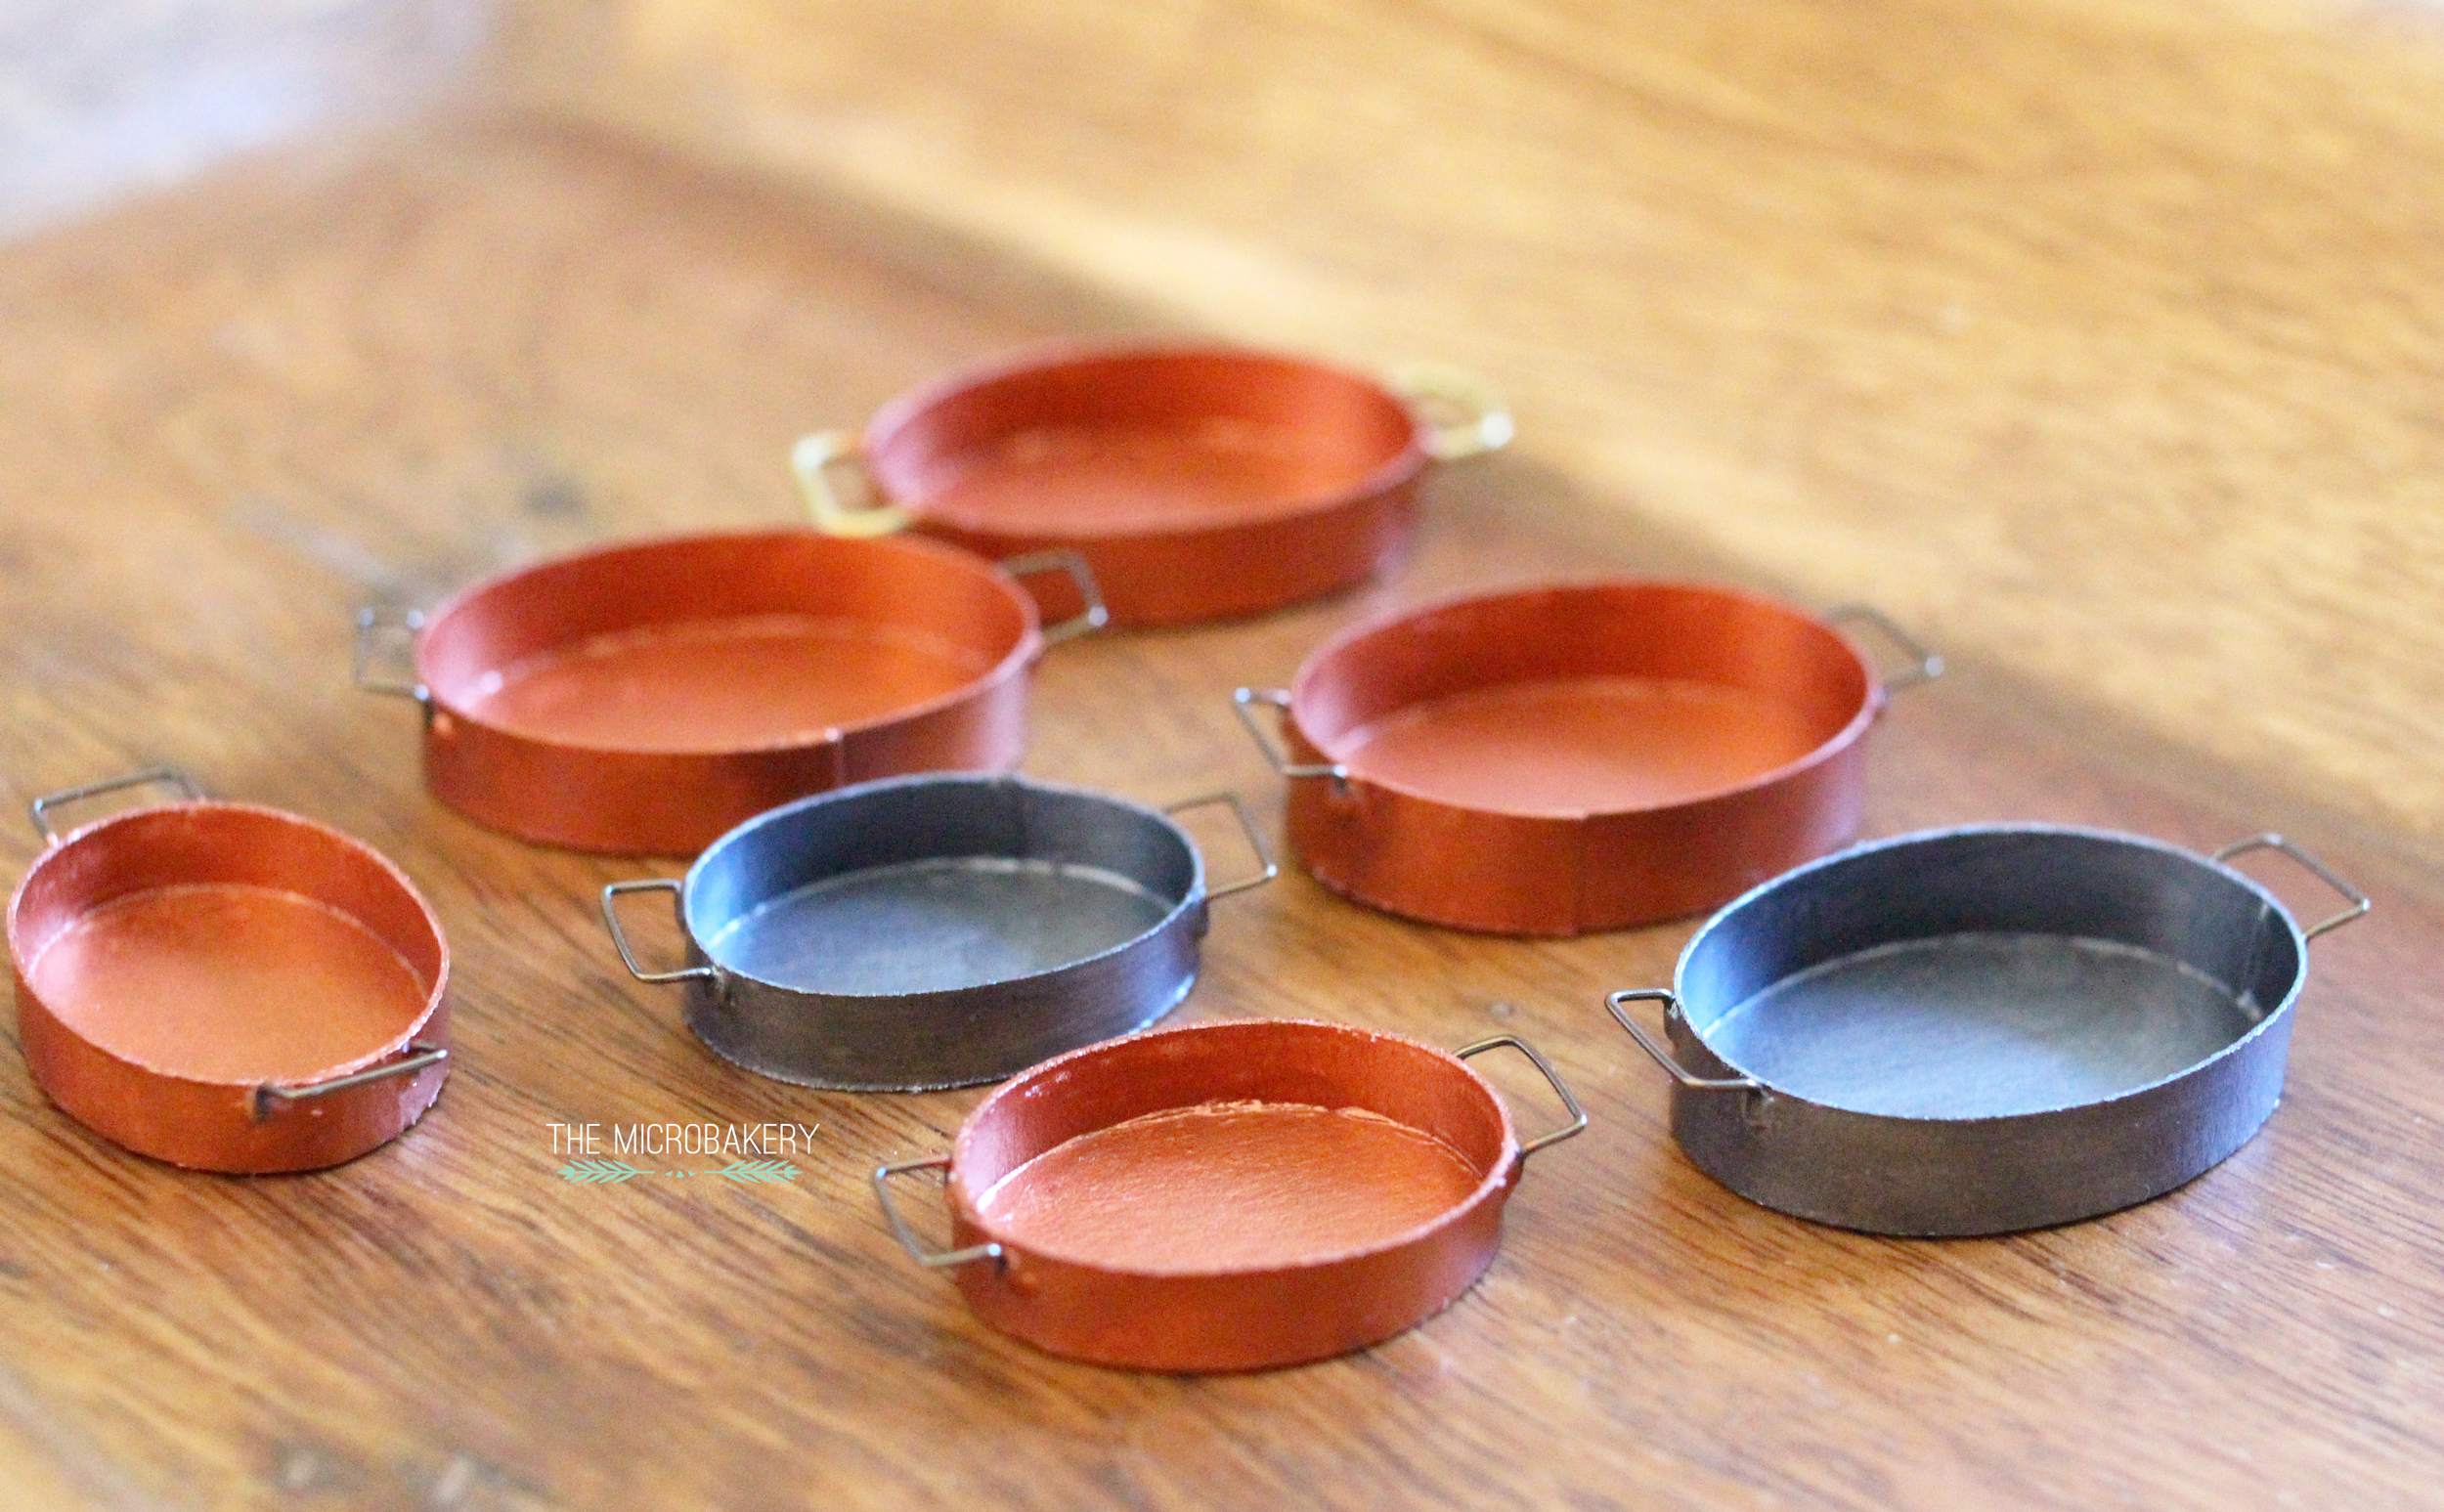
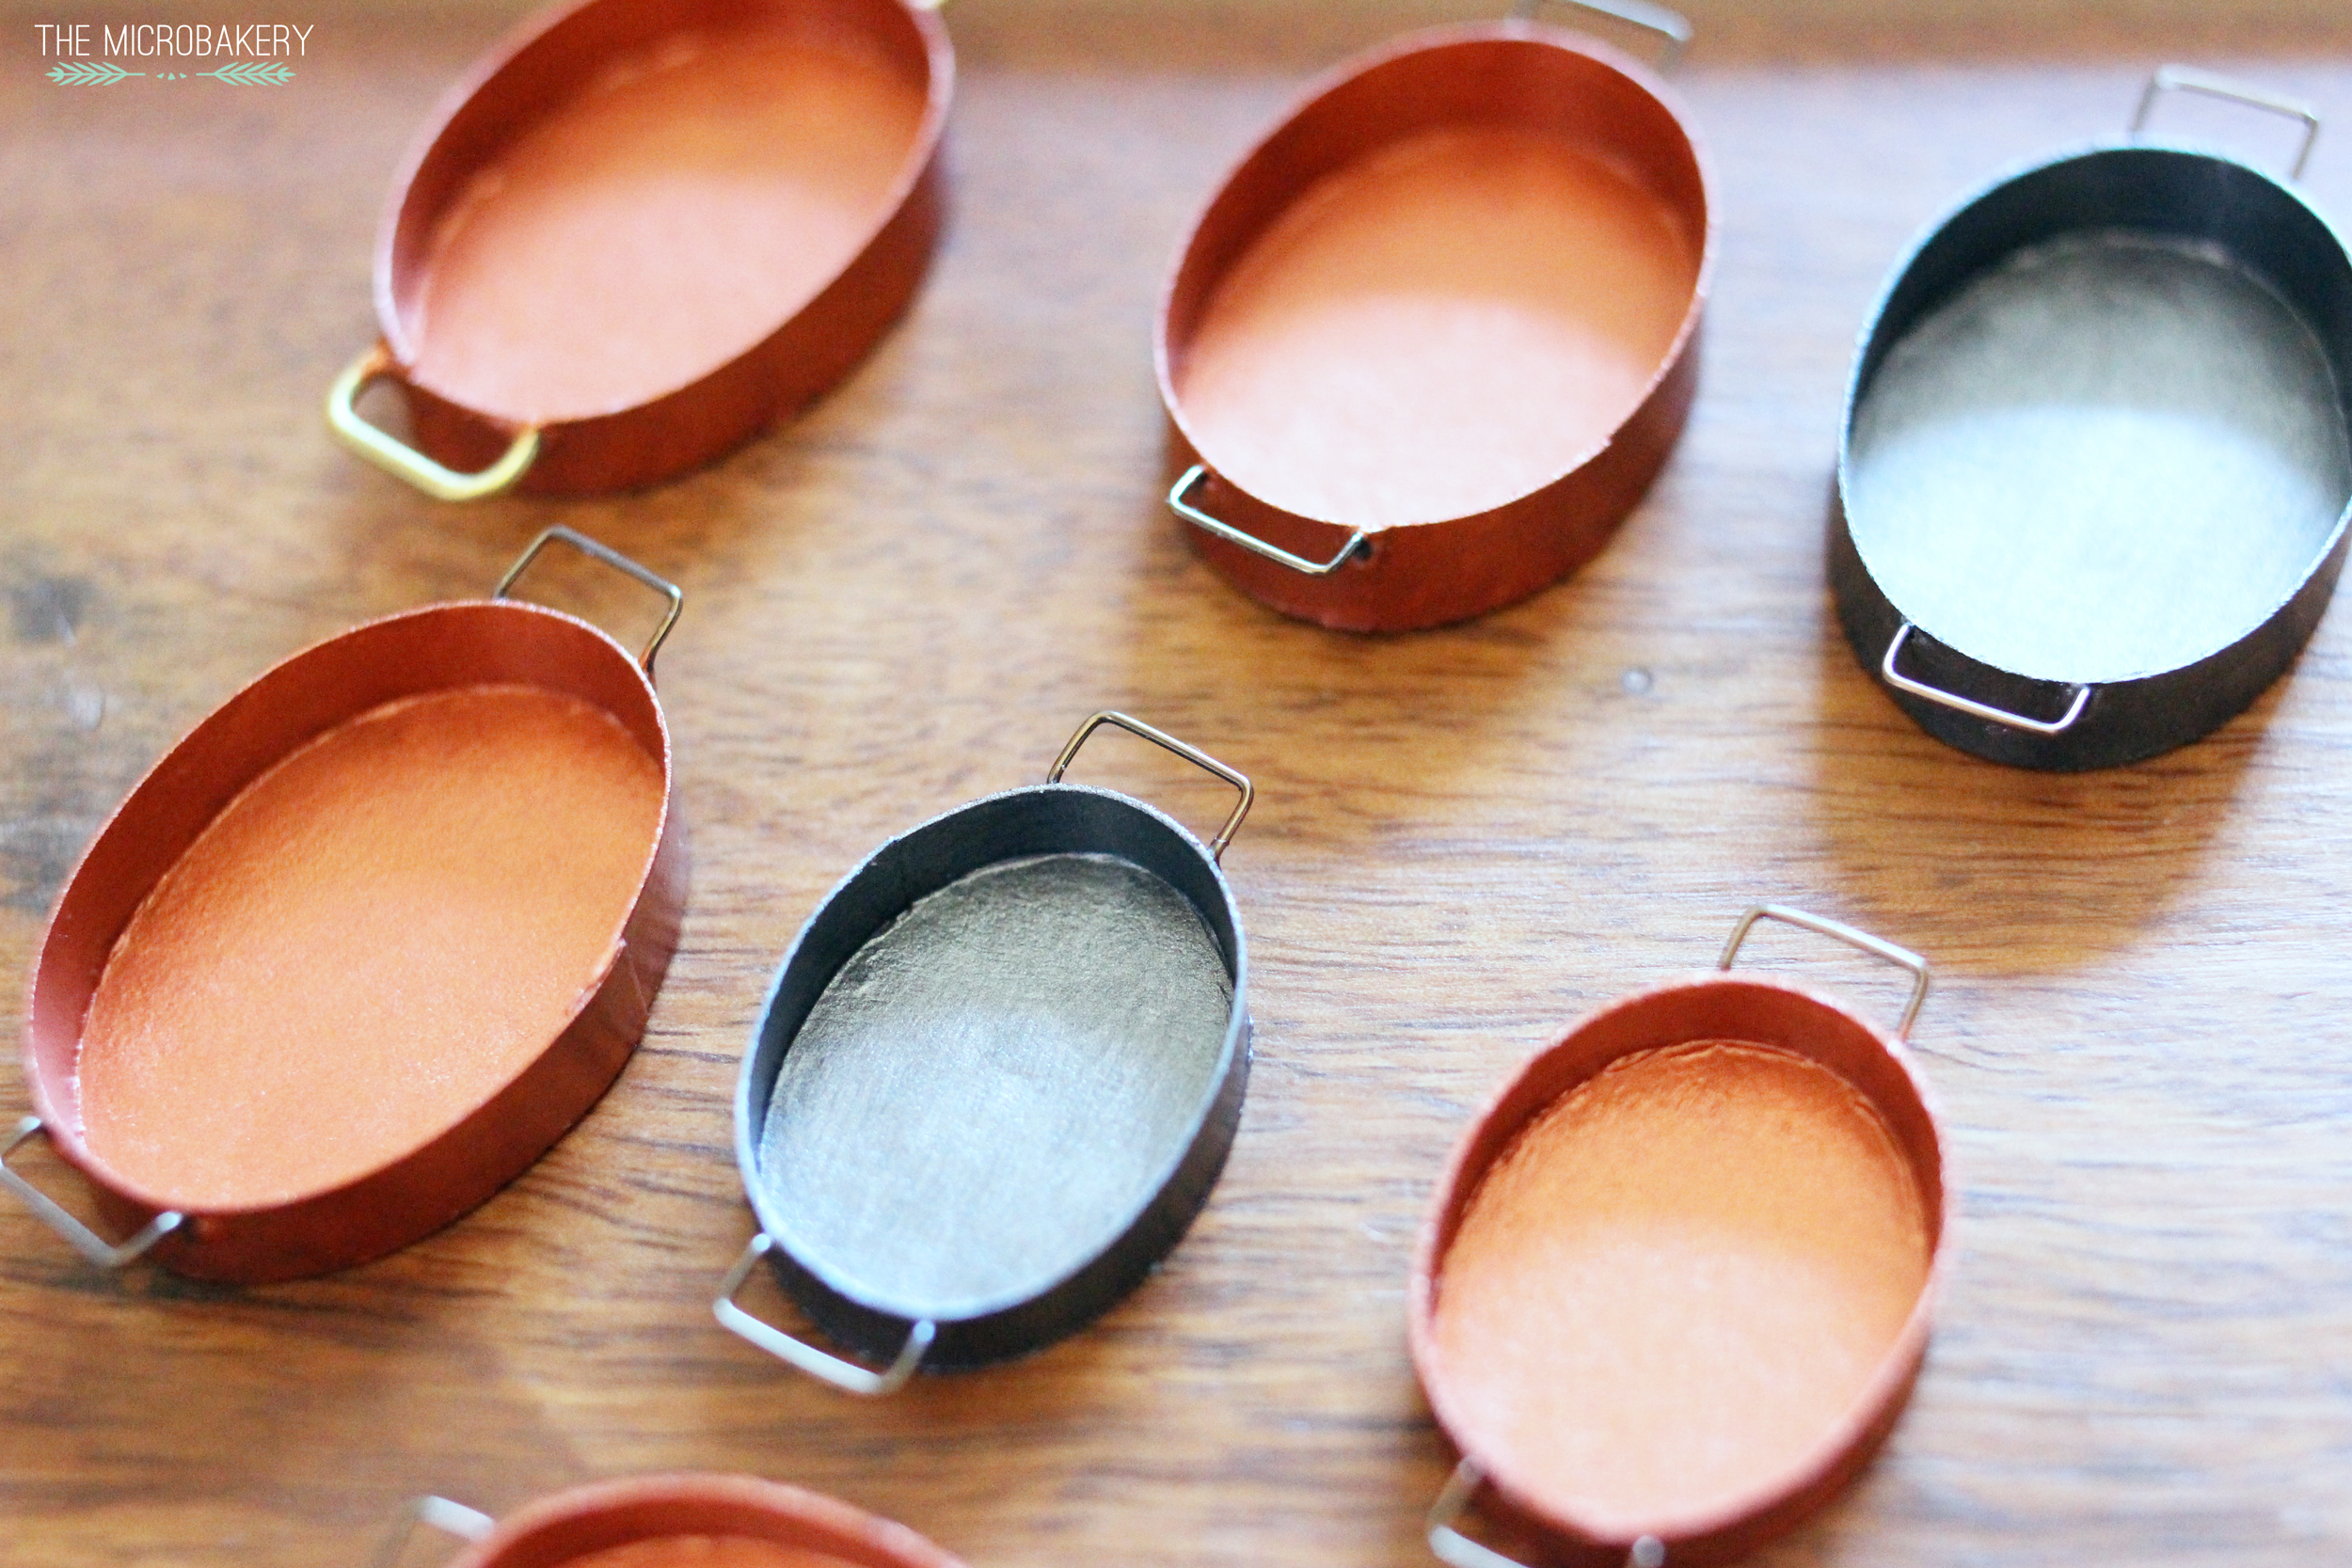
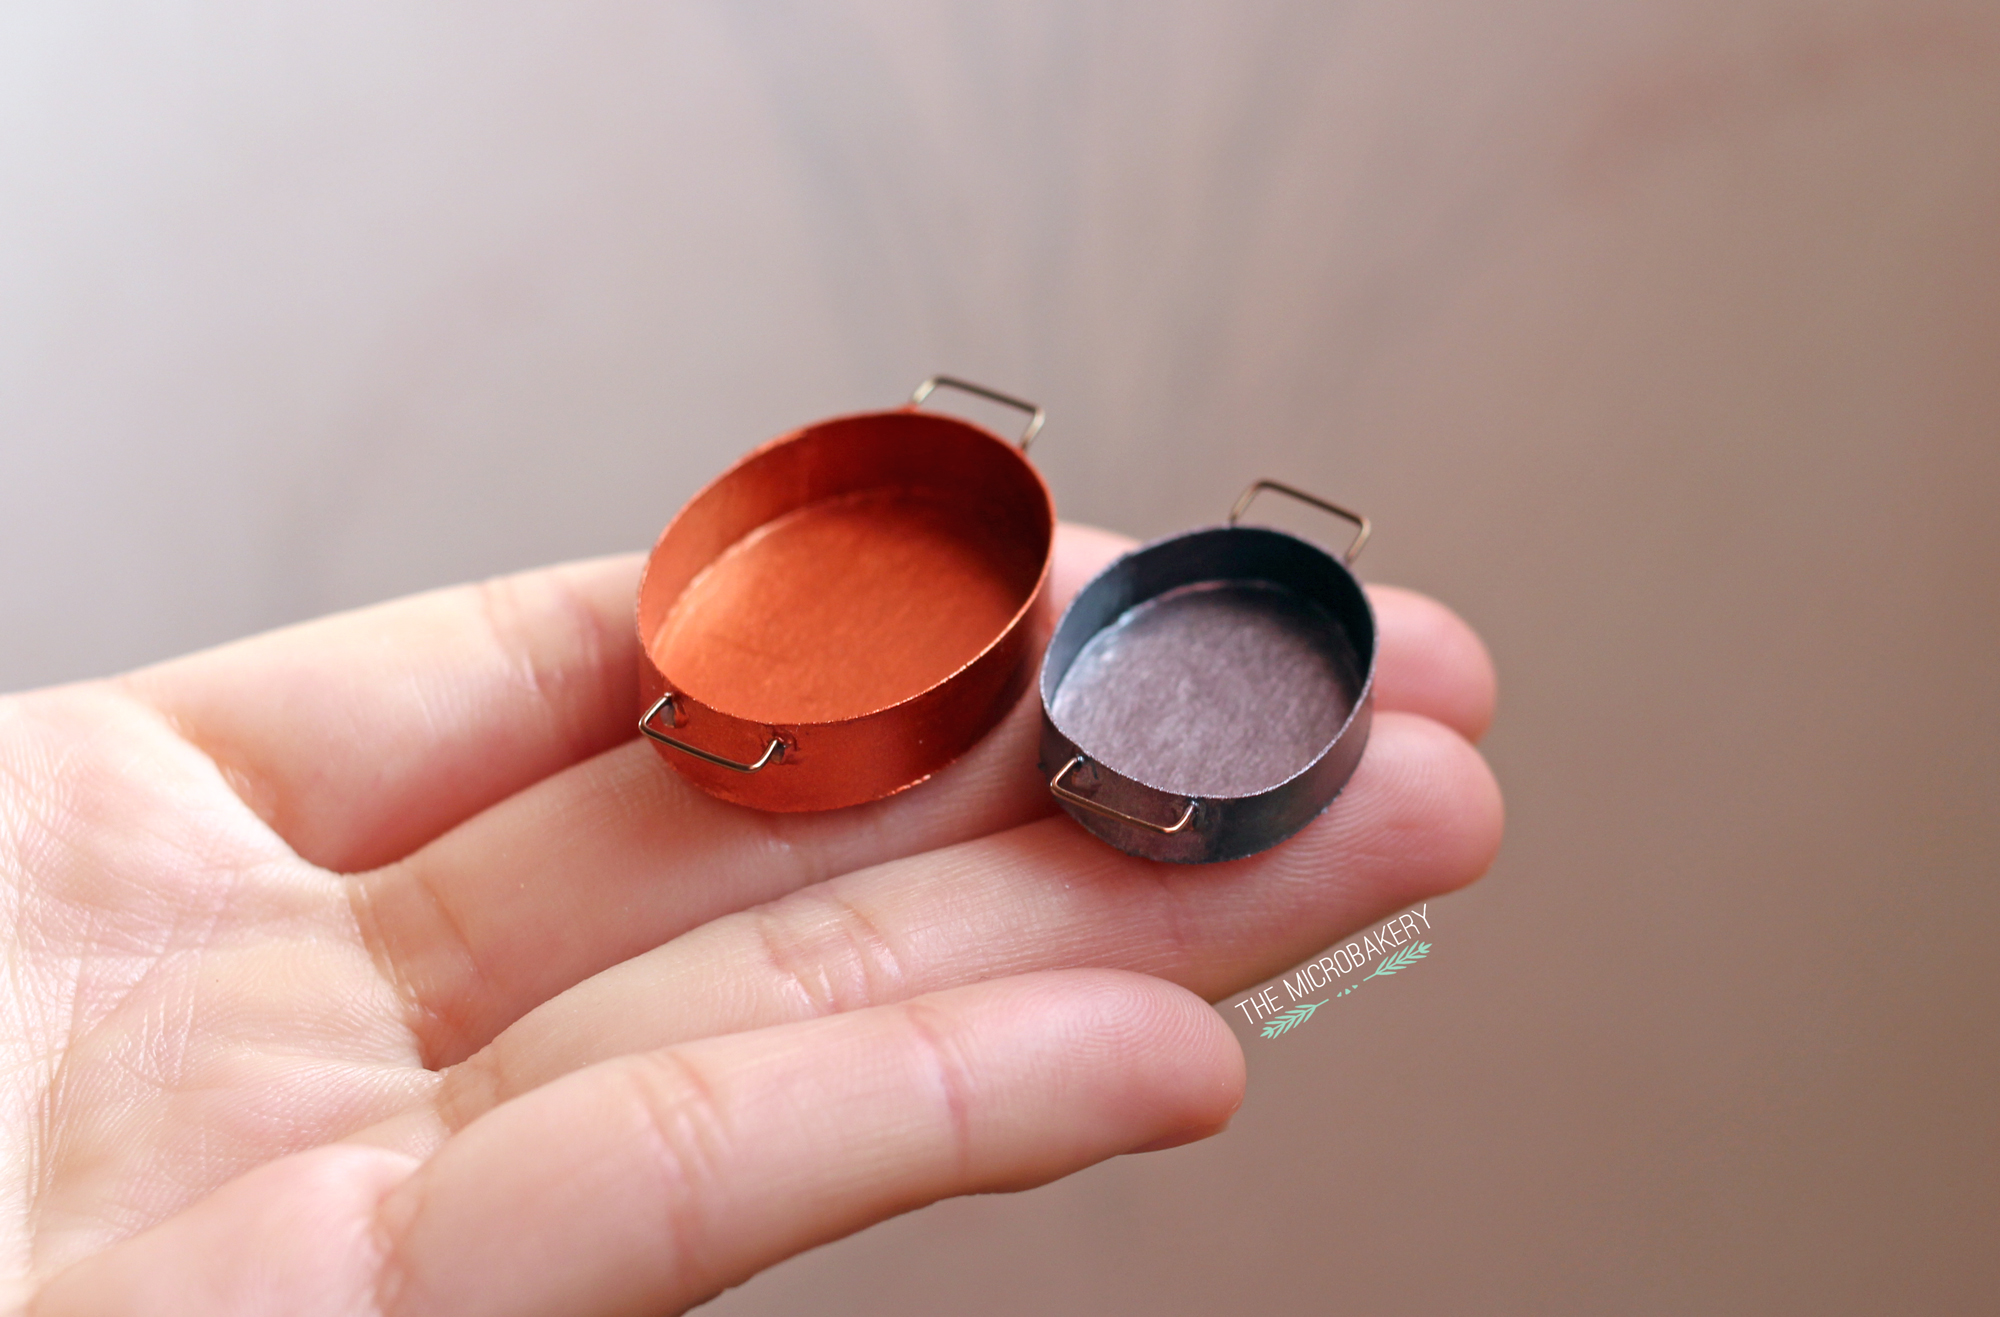
Tada! Here are the finished roasting pans :) I'm sure there are a million other ways I could have made the pans, but I was itching to try making them using card stock paper. Maybe next time I'll try sculpting them with polymer clay.
Sorry for my lack of posting on all forms of social media and this blog. For the past week and a half I have been sick and suffering from a stiff neck, which makes it hard for me to hunch over and miniaturize. Anyway, if you make any cooking pans feel free to share them and let me know how the process went! Or if you have other ideas about how to make cooking pans then please share, I would love to read them.

Your pans look really good, can’t wait to try them out. Thank you for sharing your ideas 😊
ReplyDeleteThey look great! I’m going to make them :) Thank you for sharing!
ReplyDeleteMe encanta éste mundo de miniaturas. Te felicito.Gracias por tu gran aporte. Ya me antojé. Las practicaré
ReplyDeleteOhhhhh wie toll...das ist eine tolle Idee vielen Dank und gute Besserung
ReplyDelete