Monday, November 24, 2014

Christmas Cookie Earrings

Christmas-Cookies-Final1-(W)

Well, it's that time of year again! Let the holiday festivities officially commence with Thanksgiving being the first event of the season.  Thanksgiving will be here in a few short days and once we come out of our food coma's, it's time to string up the holiday lights and place holiday wreaths on the doors.  Um, to be perfectly honest though, I'm one of those guilty people who "accidentally" left their Christmas lights up since last year.  What?! Fairy lights are really pretty at night, no matter what season.  So...uh...woops...

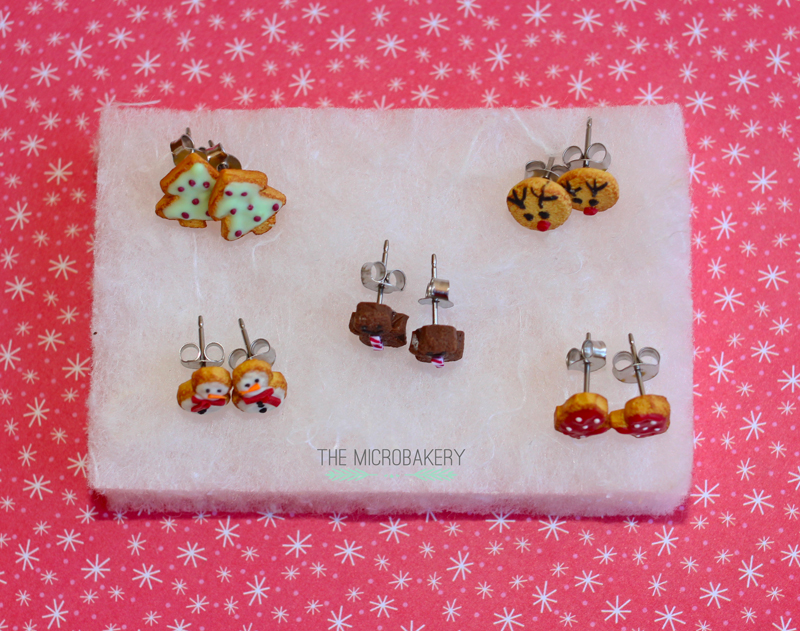
While it may be a bit premature to be thinking about Christmas, it's never too early to start working on Christmas themed miniatures.  You always have to start a couple weeks/months ahead to prep for all the extra miniatures you'll be making.  This year I decided to make a bunch of holiday themed cookie earrings for my friends and family as their gifts.  It's not the price of the gift that matters, it's the thought.  I put a lot of love and care into making these, I really hope they like them.
Christmas-Cookies-WIP1-(W)


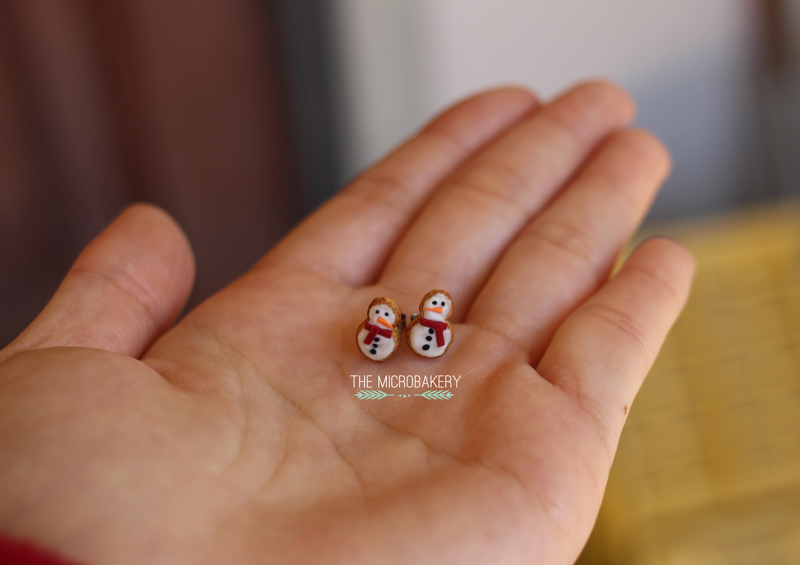
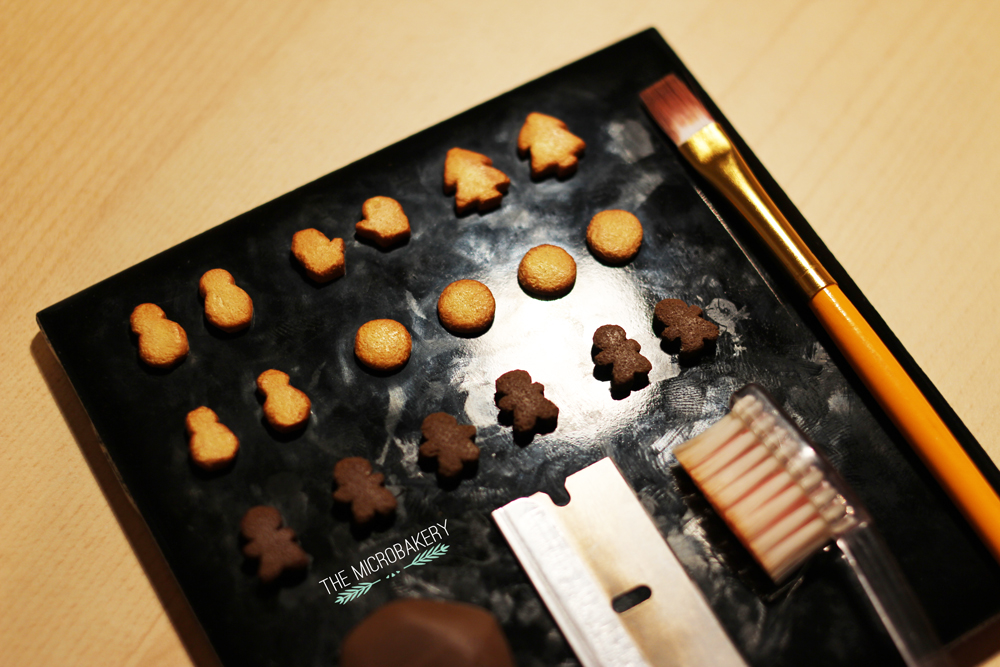
I first sketched the shape of each cookie (approximately 1 cm tall) on a large flat piece of clay and then individually cut and textured each one.  Then took a first pass applying light brown pastel for an all over "baked" effect and followed up with darker brown pastel around the cookie edges.
Christmas-Cookies-WIP2-(W)


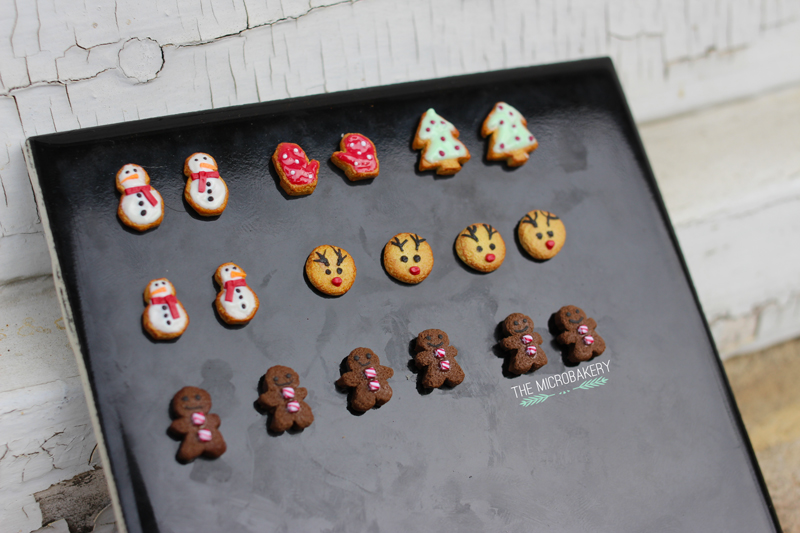
The cookies with frosting on them were created by mixing polymer clay with TLS.  Lastly I applied tiny clay decorations to them and baked it.
Christmas-Cookies-Final3-(W)


Christmas-Cookies-Final2-(W)


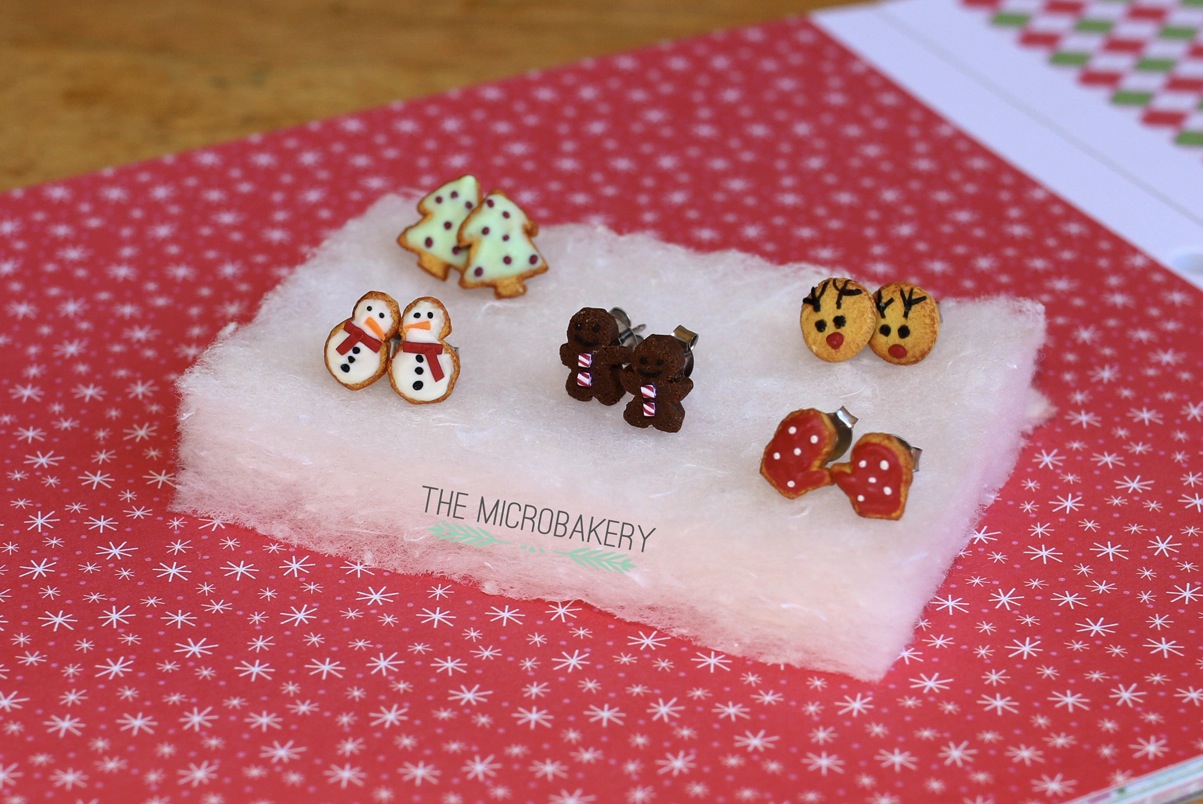
About a week ago I ordered surgical steel earring posts and backings off of eBay.  Finally after much anticipation I received the package and superglued the cookies to the flat pad earring posts.  I couldn't be happier with the outcome!  Hopefully my friends and family like them.

P.S.  I'm thinking about possibly making another tutorial.  If so, what would you want to see?


Thursday, November 20, 2014

New Kitchenware Supplies!

Plates-2-(W)

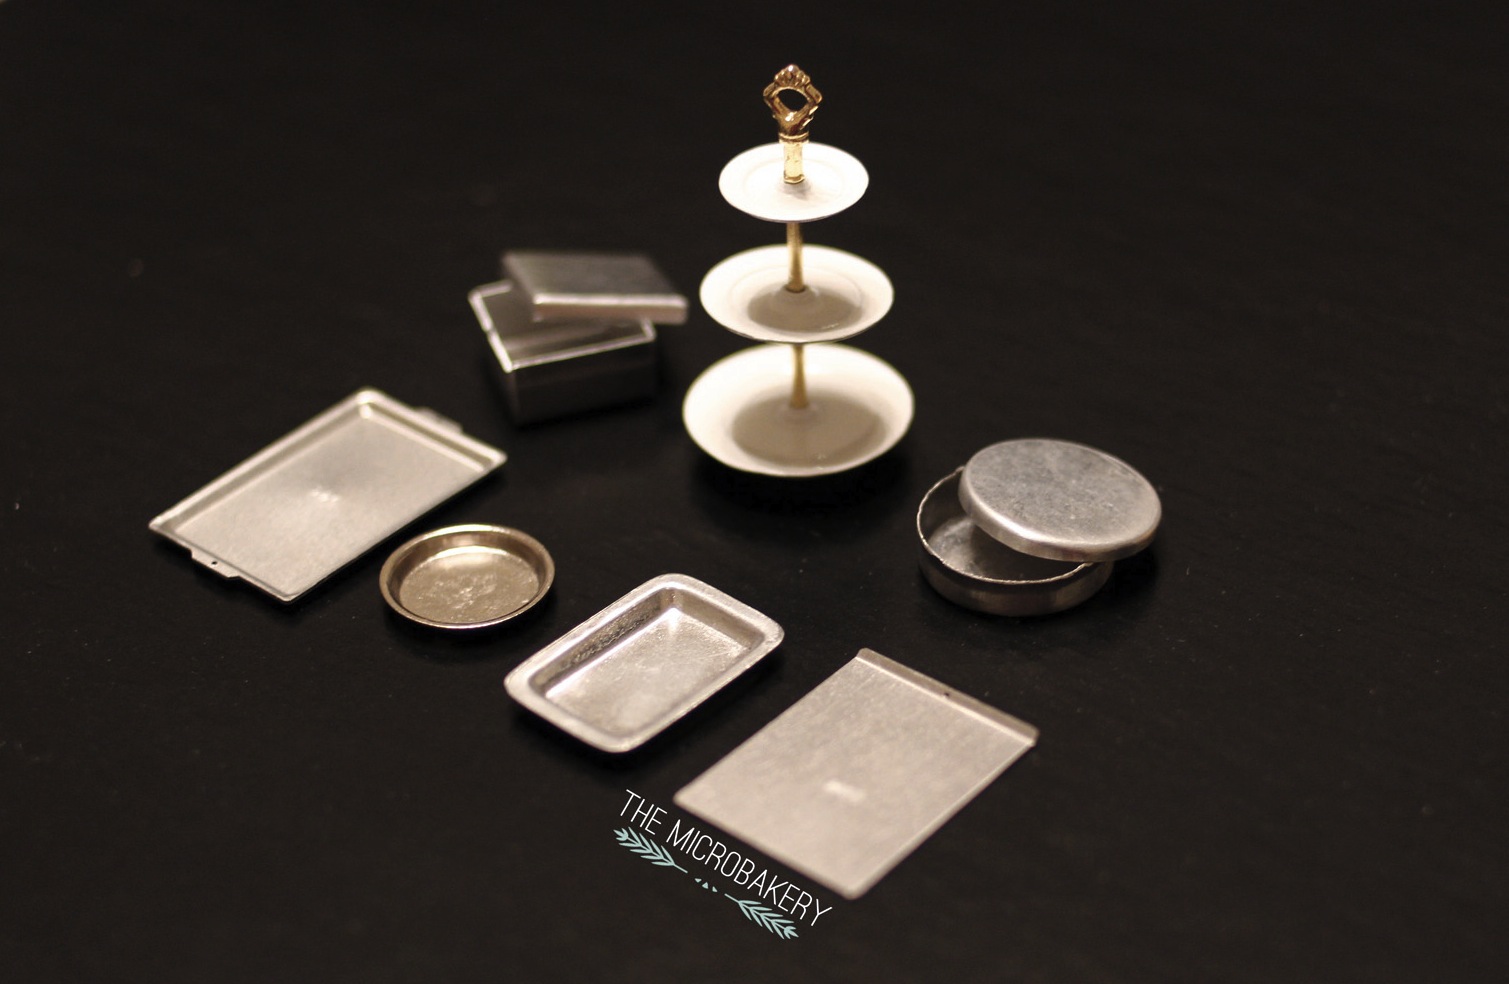
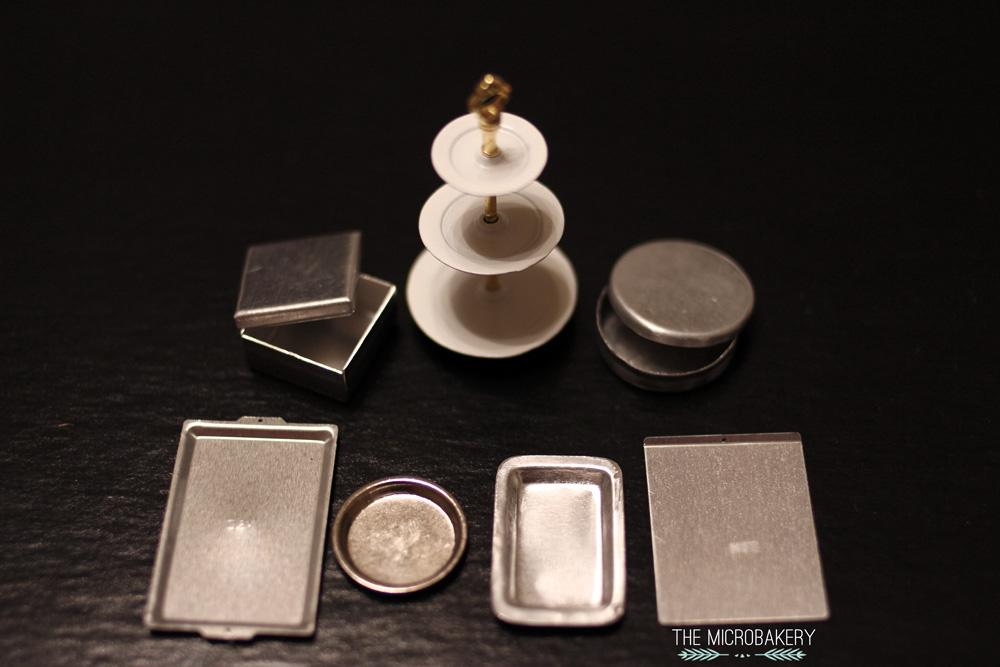
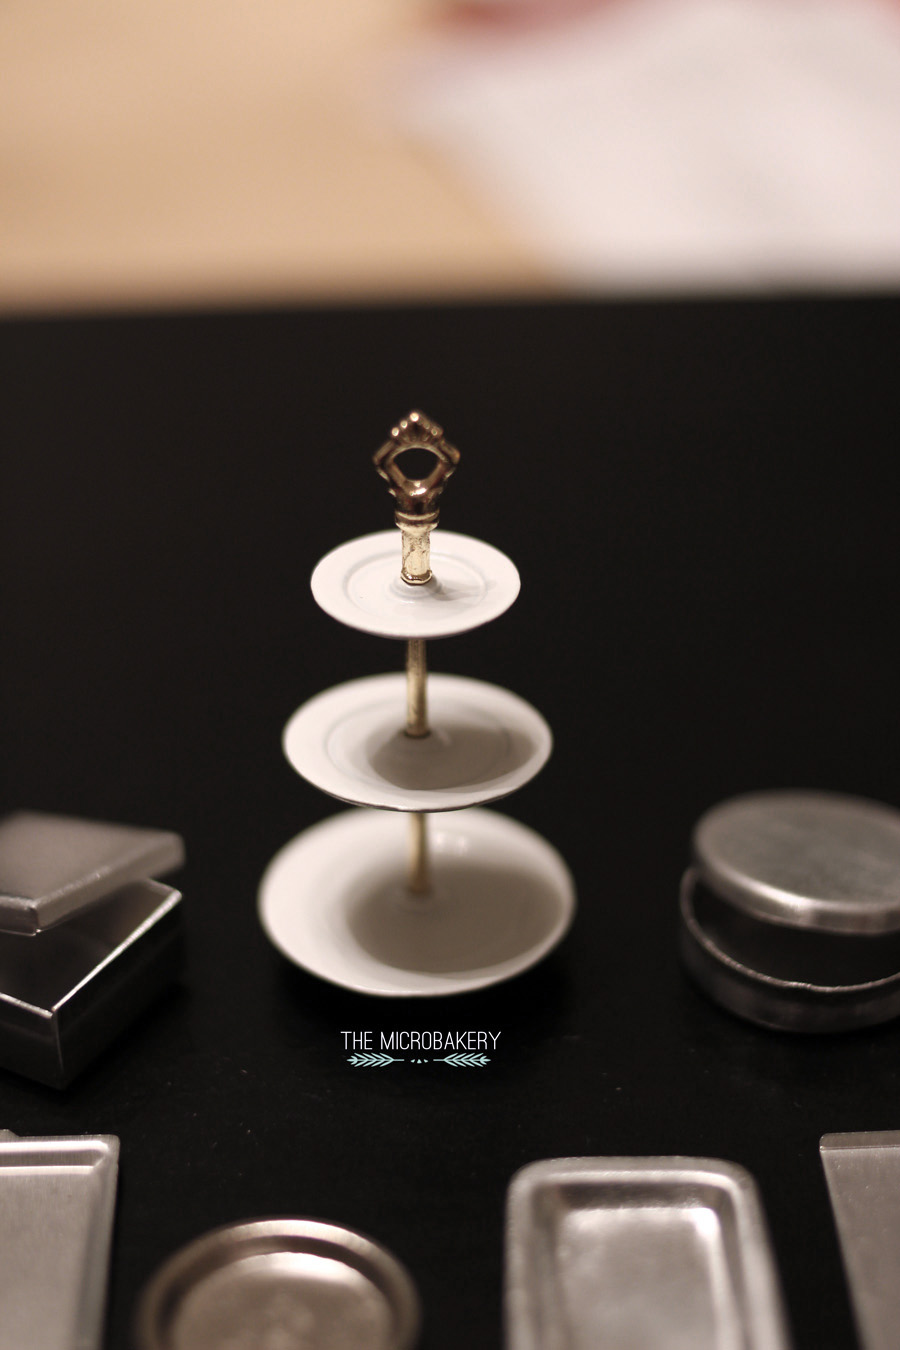
Woohoo!  All the kitchenware that I ordered last week finally came in.  :D  It was so hard deciding what to buy because I wanted to buy it all! But I only picked the stamped metal pieces that I can't make myself (at least for now :P).  All the metal pieces came from eBay and the multi-tiered stand I bought from the craft store and are in 1/12th scale.  I'm so excited to include them with my miniatures now!

Here are some general dimensions:

Square tin: 3/4"
Tiered stand: Bottom plate ~ 1" diamter
Round tin: 3/4" diameter
Baking sheet: 1-9/16"L x 1"W
Pie pan: 7/8" diameter
Small baking sheet: 1-3/16"L x 3/4"W
Flat baking sheet: 1-5/16"L x 1"W 

If you are looking for a cheaper alternative (or even in addition) to the bakeware trays and pans I would recommend searching for common items that can repurposed as mini bakeware.  I'm sure there are a million other great ideas out there, but here are some ideas you could use that come to mind:
  • Use empty makeup pans, both square and round, as cookie sheets
  • Regular size and miniature sized bottle caps can be used as pie pans  
  • Lastly you could buy a thin sheet of aluminum  (please be very careful!) and cut out a flat cookie sheet shape
  • Wrap a piece of cardboard (or something thin) with aluminum foil. Make sure the surface is smoothed out to replicate a baking sheet
Happy (miniature) baking!

Plates-1-(W)Tiered-Plate-(W)


Monday, November 10, 2014

Donut Talk To Me

DonutTalkToMeBanner

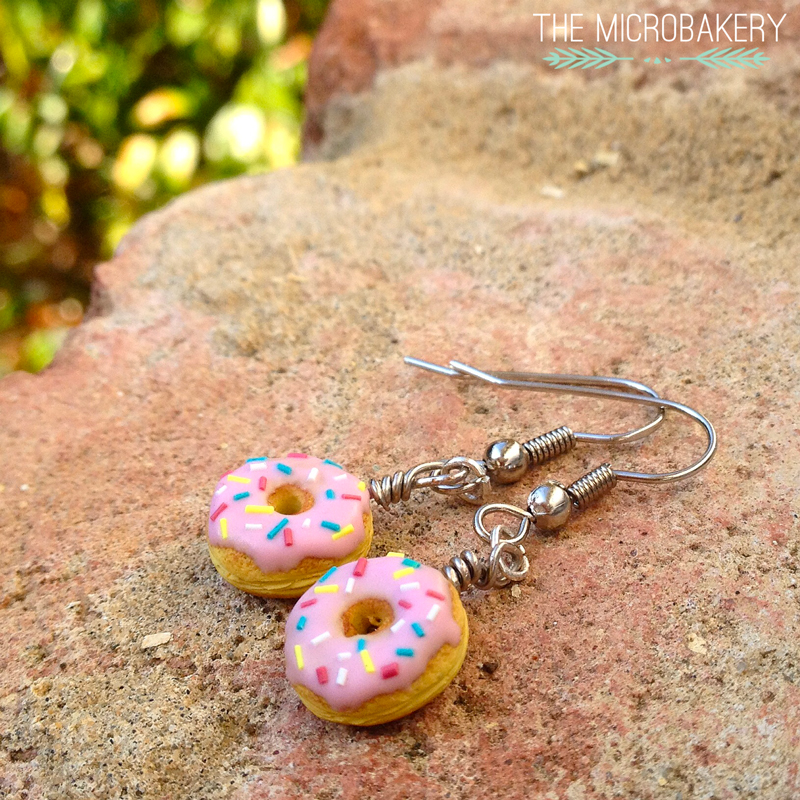
Last week one of my friends asked if I could make her a pair of donut earrings to match her "Donut talk to me" shirt.  Naturally, of course I said yes!  I was a bit nervous because I never really made earrings before so I wasn't sure how it was going to turn out.  I had to watch a few tutorials on how to make an eye pin from a loop pin, I kind of got it? It definitely looks like novice work, yikes. You can be the judge of that one... There is definitely room to improve haha.

Donut-EarringsWIP1-(W)

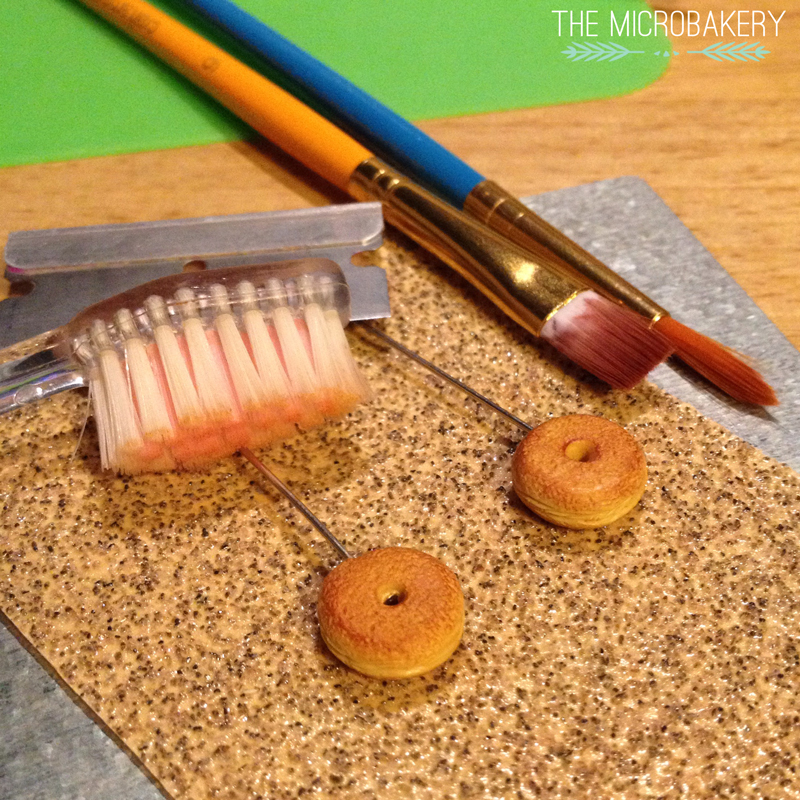
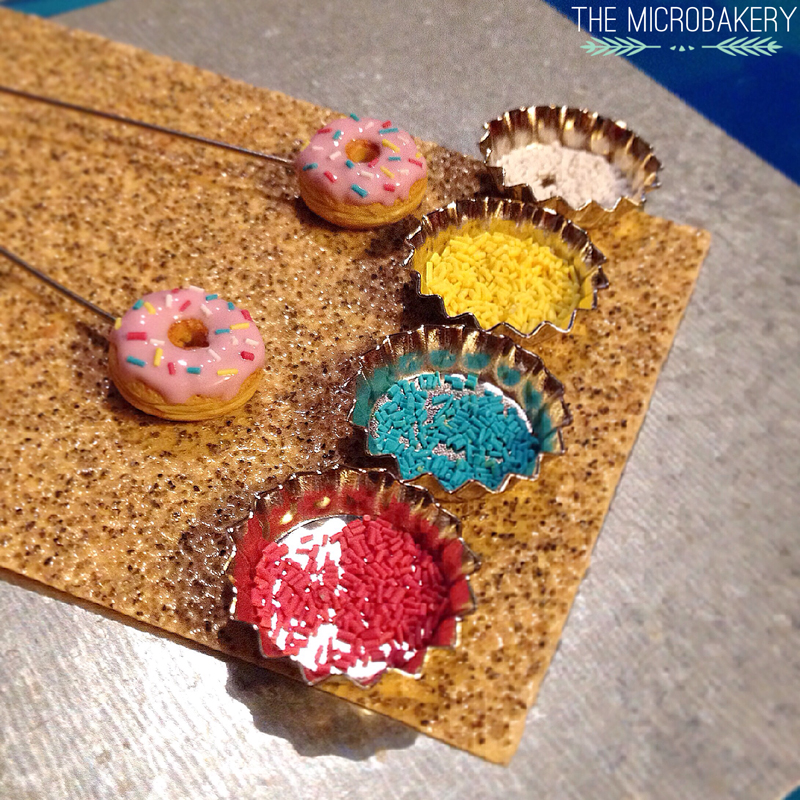
I used a head pin, but you can also use an eye pin that has a pre-made loop.  Just be sure to bend the end of the pin that goes into the clay.  This will allow the clay to grip onto something and ensure the charm won't fall off if you twist it.


Donut-Earrings-WIP2-(W)


Donut-Earrings-(W)

Tuesday, November 4, 2014

Haunt Your Disney Side

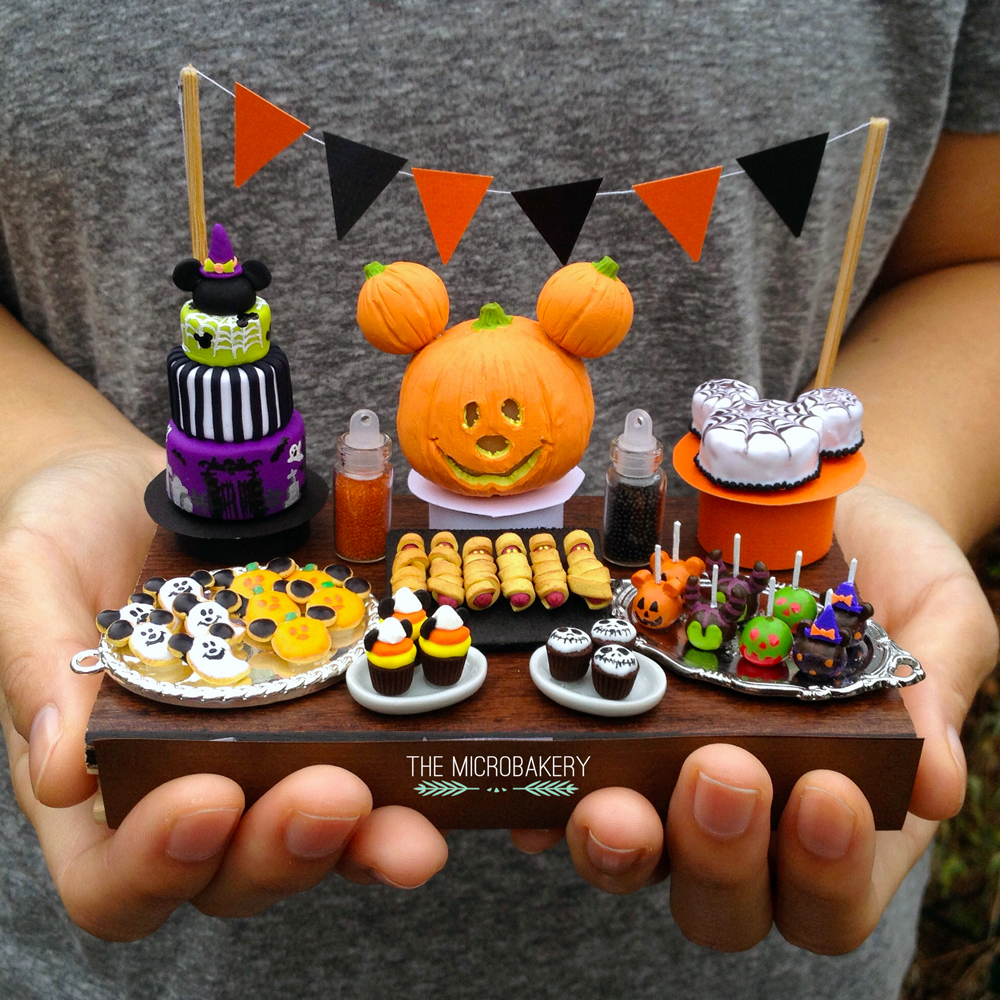
MickeyTable-(WNE)
Lately, I've been dying to go to Disneyland.  See what I did there? No? Damn...  I like to think I'm clever and witty, not so much.  Running far away from that awful joke, I hope you all had a spook-filled Halloween!  Personally, I believe this "holiday" should be banished.  Permanently. Nada. Nope. Never again.  This may or may not have to do something with Universal Studio's Halloween Horror Nights, security guards, and crying.  I'm sure you can use your imagination to fill in the blanks, I'll just leave it at that.

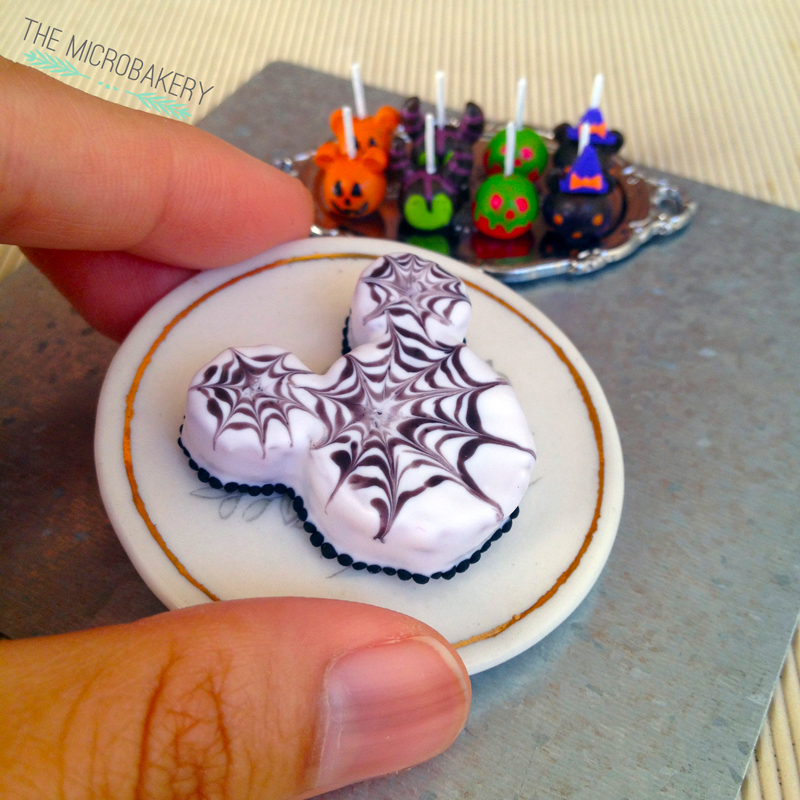
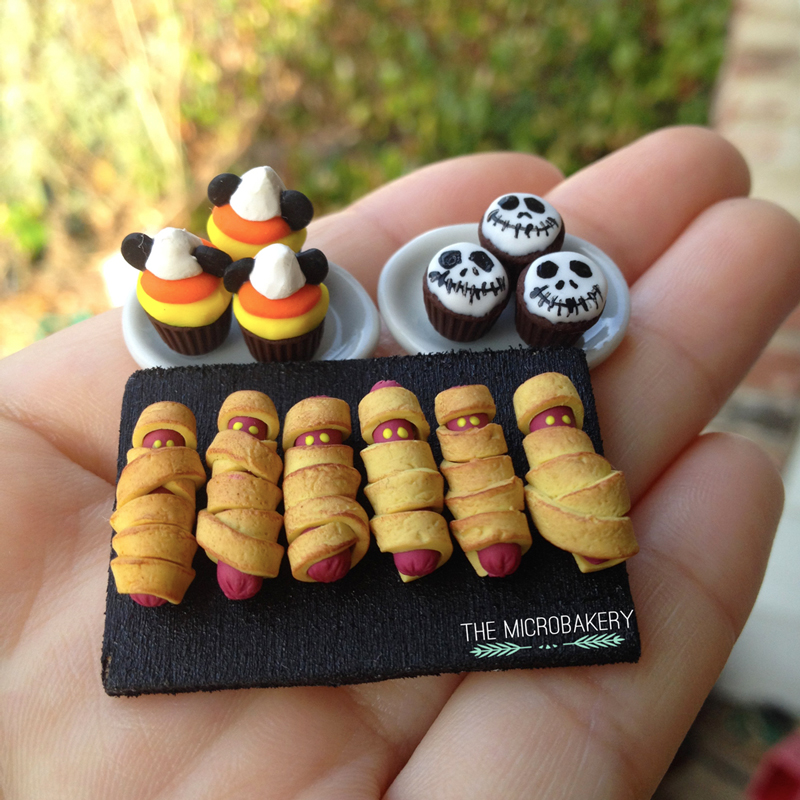
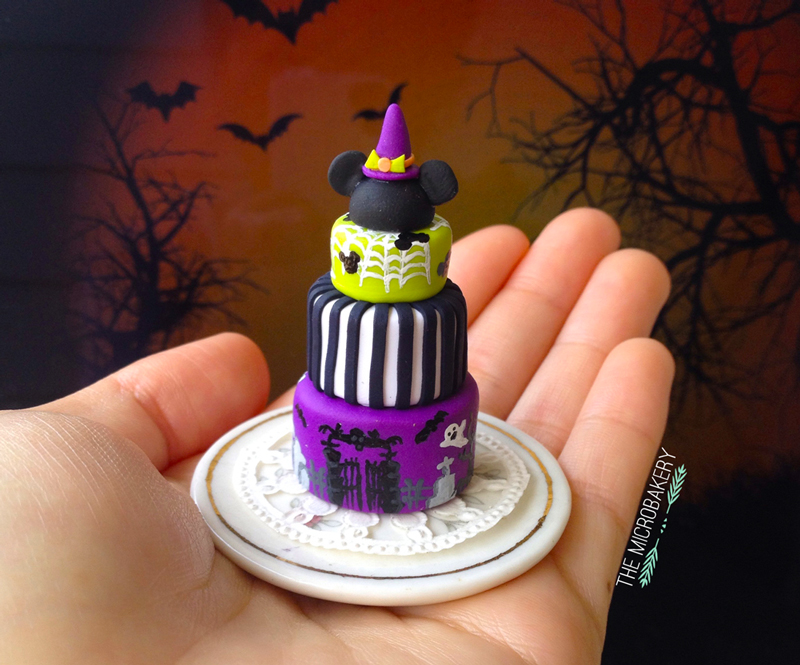
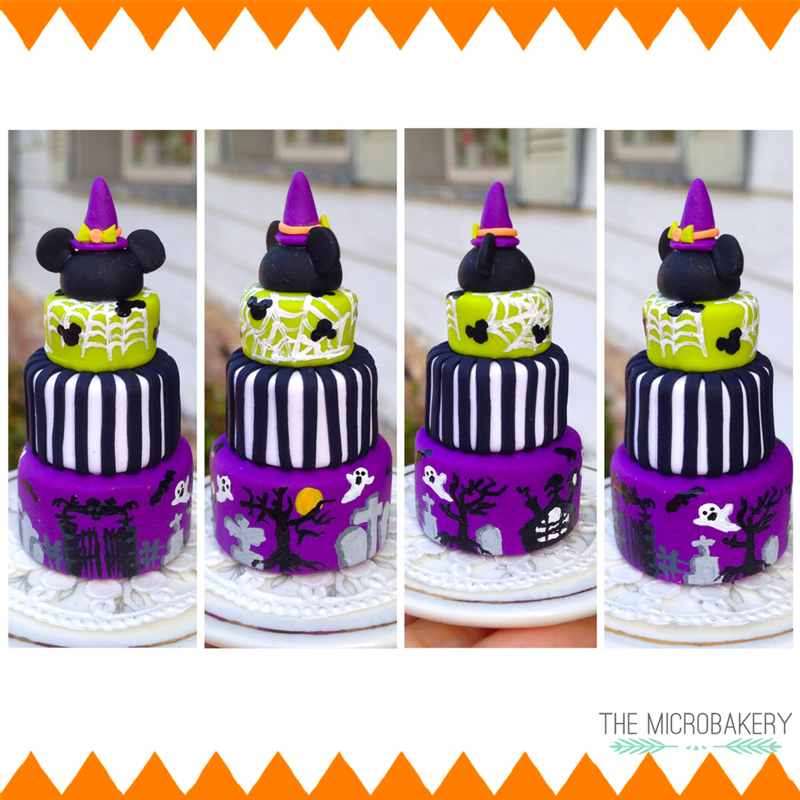
While watching Nerdy Nummies make Maleficent candy apples, Ro mentioned there was a contest going on called Haunt Your Disney Side hosted by Disney.  You can create anything within four given categories (costumes, pumpkins, food, decor) that is inspired or related to Disney Parks.  Your photo could then be entered via their website, Instagram, or Twitter using the #DisneySideContest hashtag. 

Despite highly disliking Halloween, I knew I had to participate because the contest was being hosted by Disney.  DISNEY! DISNEY! DISNEY! Maybe I didn't make it clear enough how much I love anything Disney.  Does this technically fall under the category of "food," considering this is all made out of polymer clay? Meh.

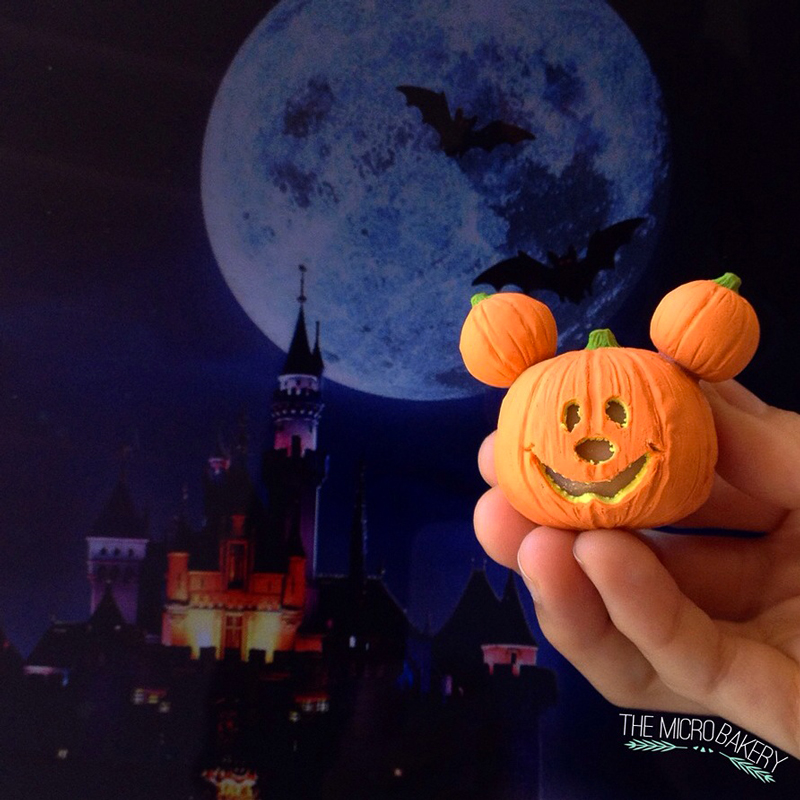
MickeyPumpkin-(WNE)
Recognize this pumpkin head? His giant brother appears on Main Street every October.

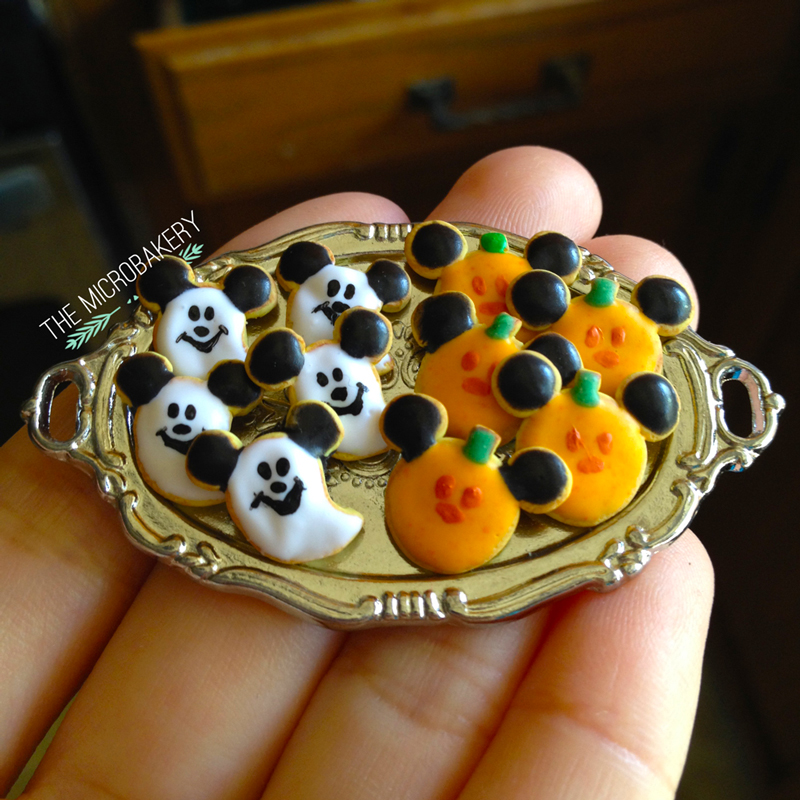
MickeyCookies-(WNE)
Mickey ghost & pumpkin head cookies.
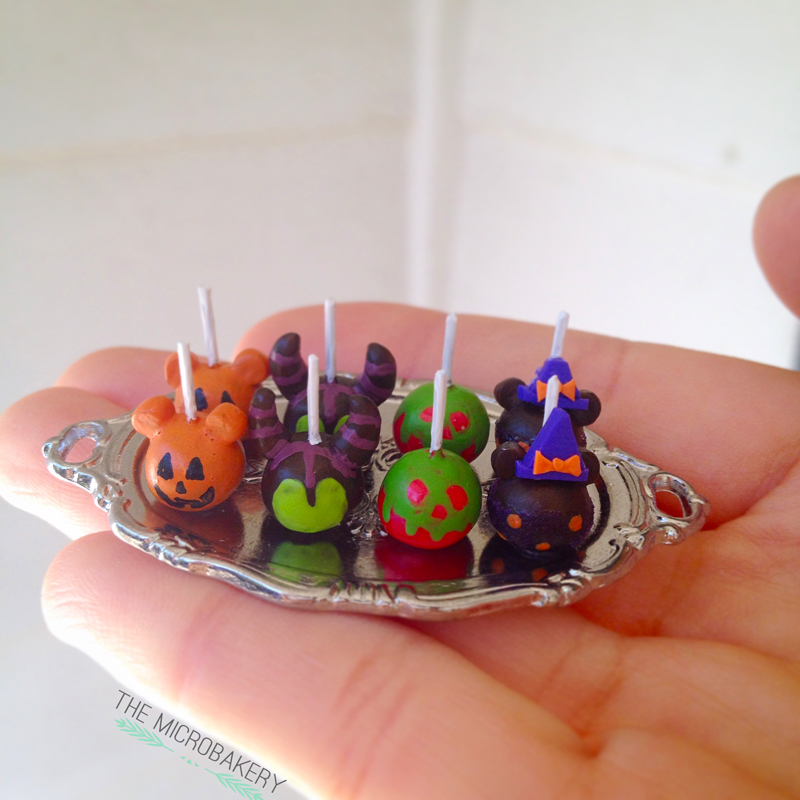
MickeyCandyApples-(WNE)
Mickey O'lantern, Maleficent, poisoned apple, and halloween Minnie Mouse Candy Apples
MickeyCake-(WNE)
Mickey head shaped spider cake.
MickeyCupcakeHotDog-(WNE)
Mickey candy corn & Jack Skellington cupcakes with mummy hot dogs!
MickeyTierCake-(WNE)
Graveyard "fondant" cake
MickeyTierSides-(WNE)


Playing Catch-Up

Oh boy, guilty as charged!  Where do I even start...  It's no secret this blog has been a bit neglected the last few months, but it is what it is.  So let's play a little game of catch up!

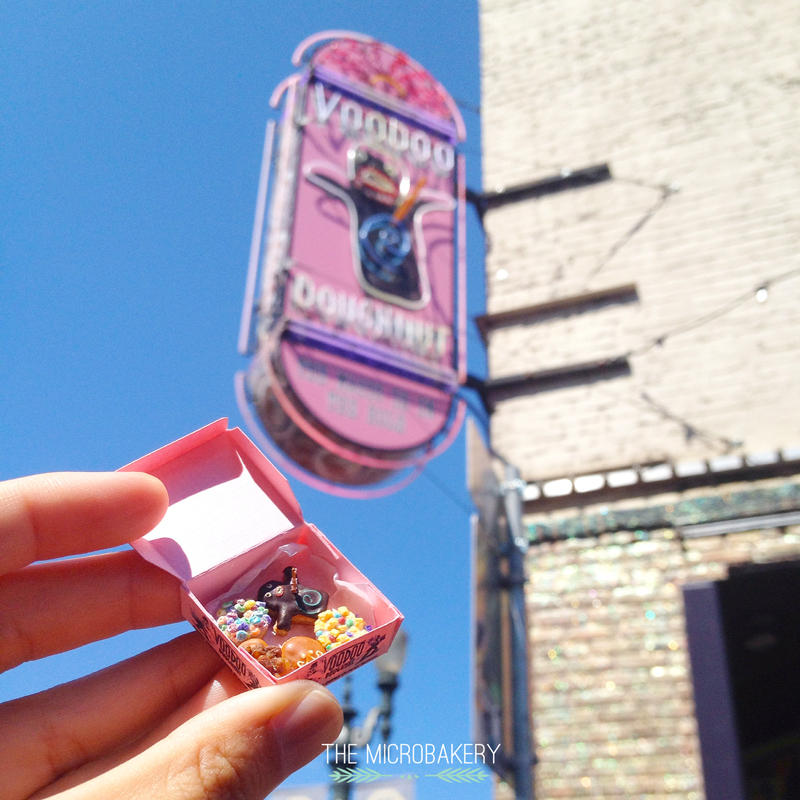
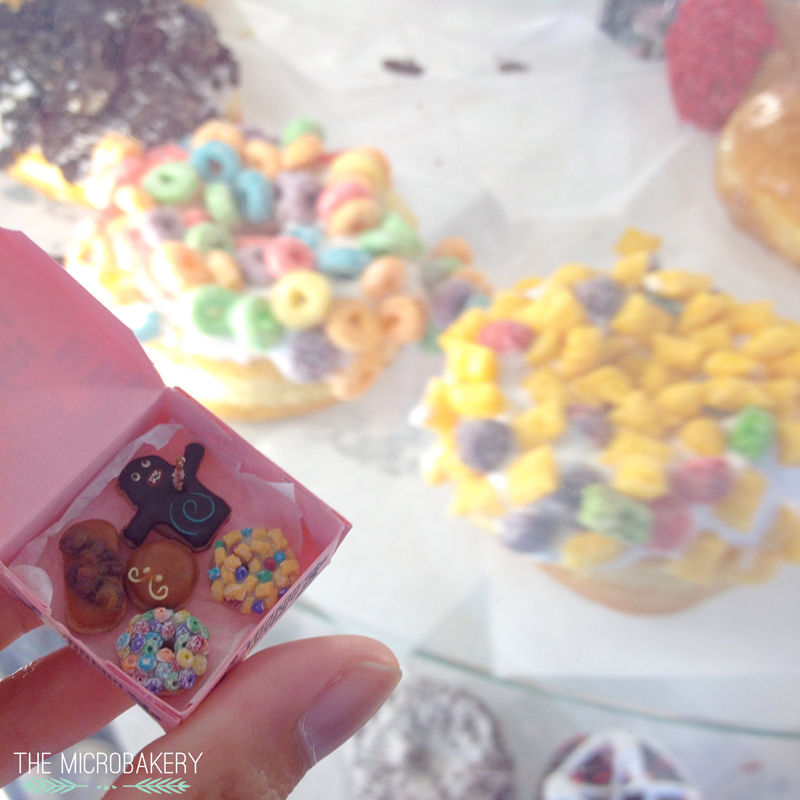
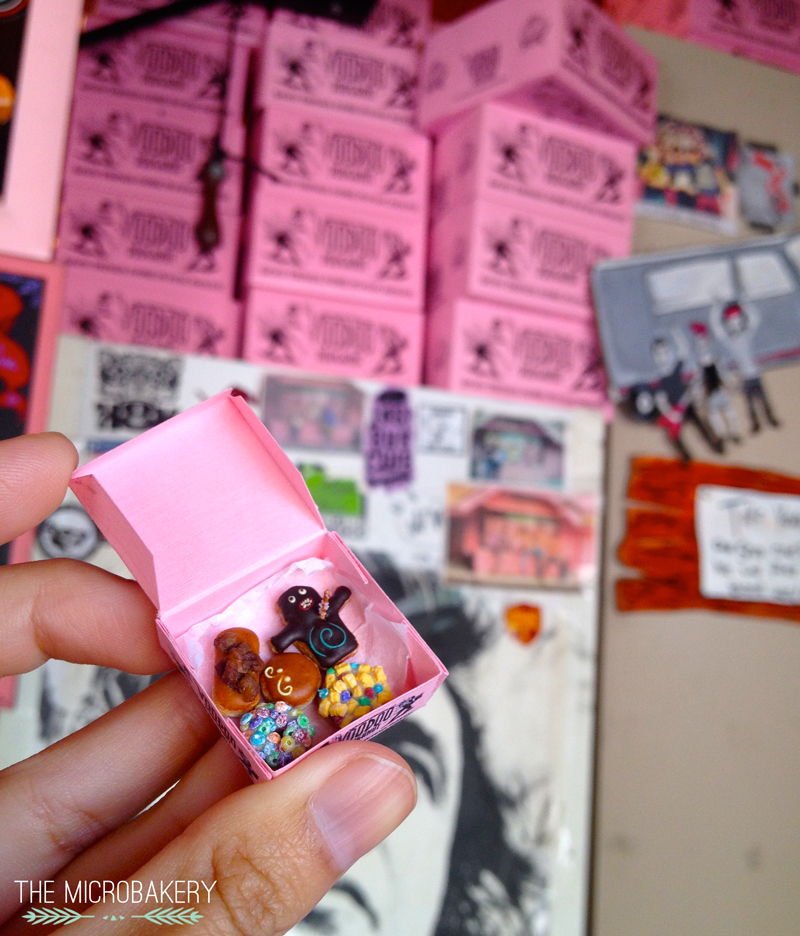
First stop, Voodoo Doughnuts! I took my miniature doughnuts that I made a few posts ago (see it here) to the original Voodoo Doughnut location.  Despite the embarrassment of many people staring at me whilst I raised my arms up in the air to take a photo, I got some decent shots.  A few people even asked if they could buy it!
VoodooPDX3-(W)


VoodooPDX1-(W)
Fun fact:  The the rotating stand inside the glass case was spinning so fast, it was incredibly hard to get a photo of the specific doughnut w/ the mini box in my hand.  Thus, a semi-blurred background...

VoodooPDX2-(W)
Good things come in pink boxes!

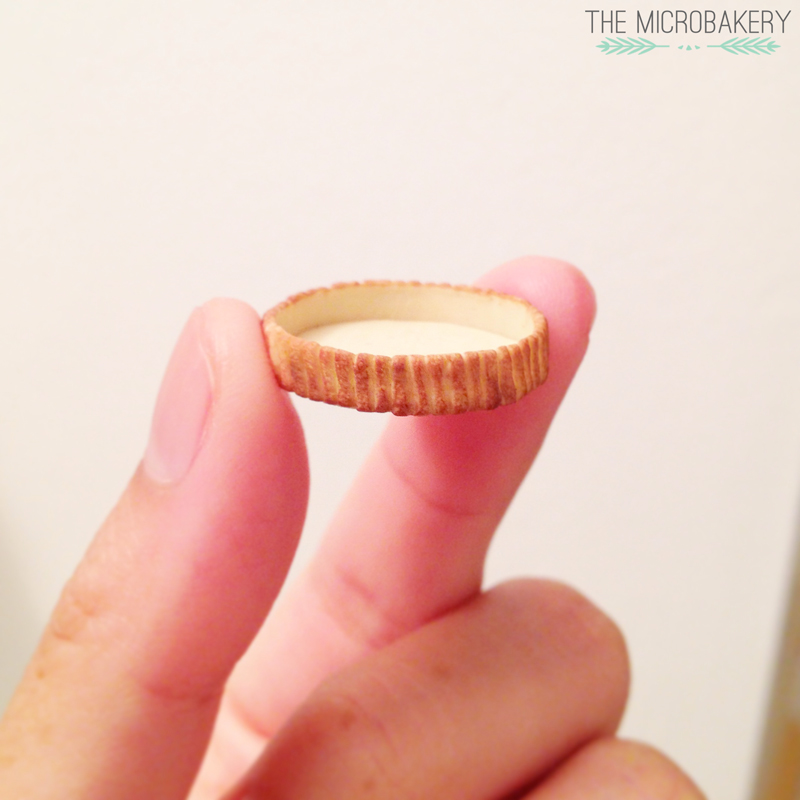
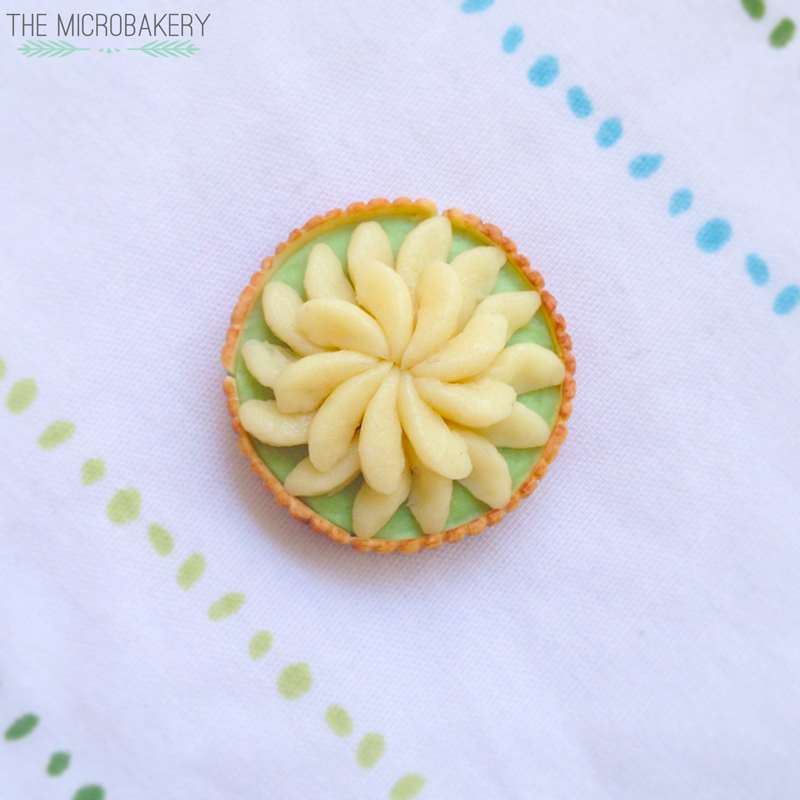
Next up are fruit tarts.  I made the tart shell using NuNu's House's technique, pre-baked it, and then filled it with the filling and fruit.  Take note to be delicate with the pre-baked tart shell, because I accidentally applied to much pressure when putting in the filling, and the shell sides split. Yikes.

SummerTart1-(W)

SummerTart2-(W)
Pear tart without the "baked" effect.  You can see the sides of the tart shell split.
SummerTart3-(W)
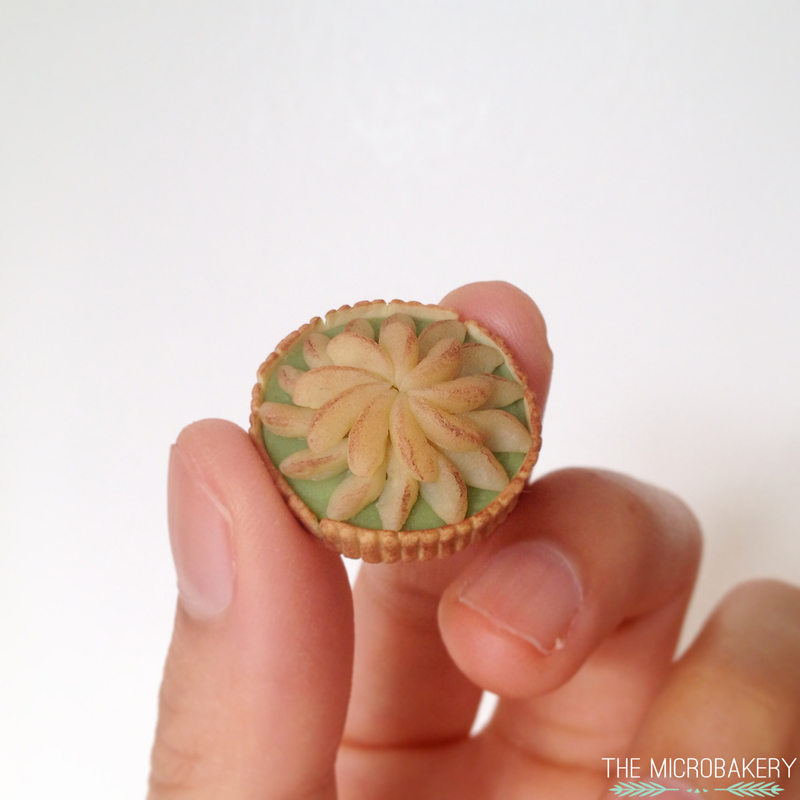
Pistachio mousse pear tart
SummerTart4-(W)
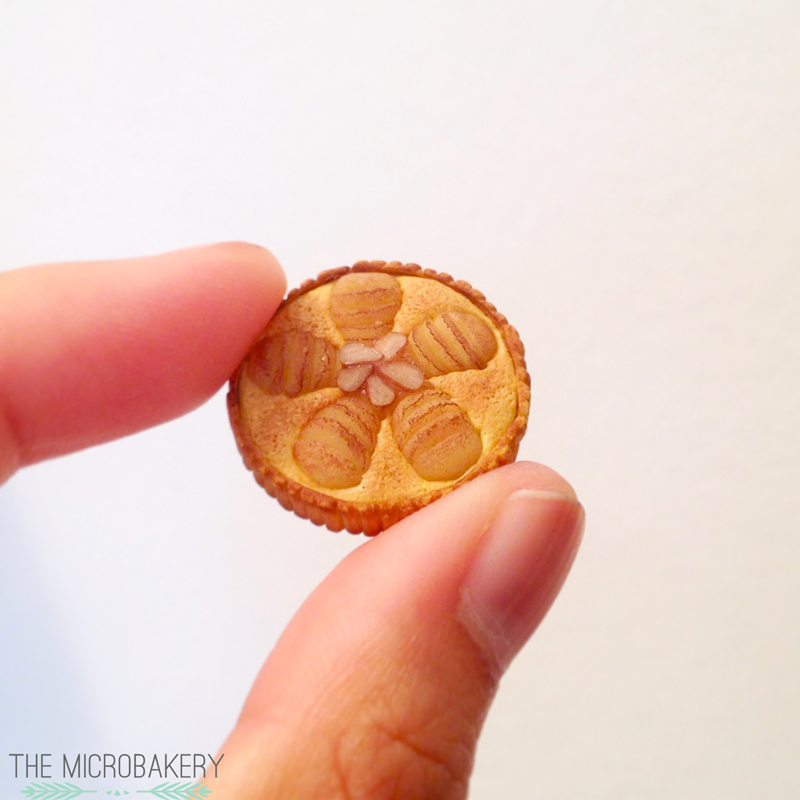
Another pear tart :)
SummerTart5-(W)
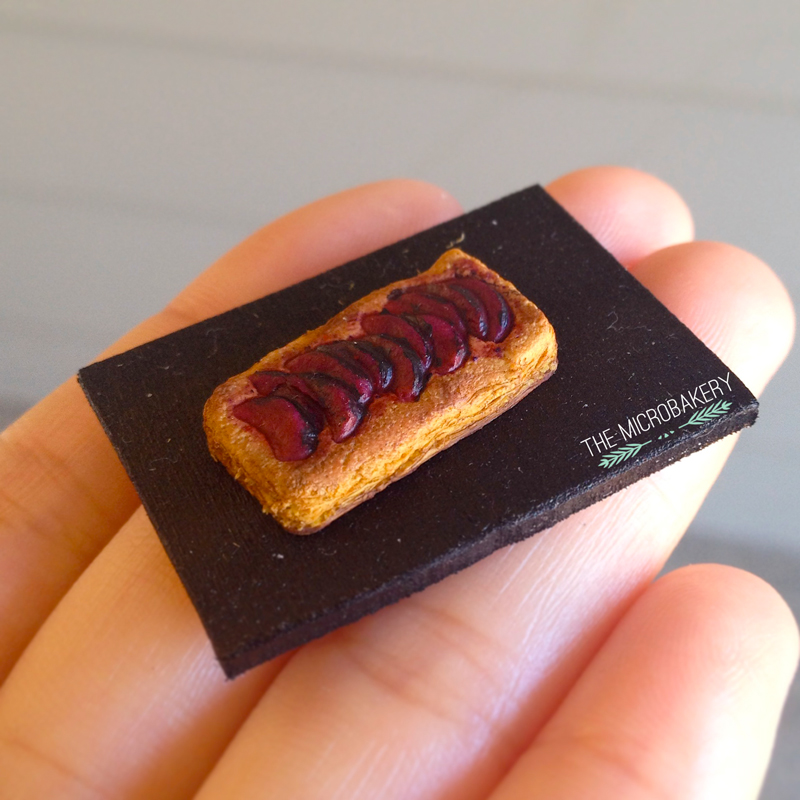
Plum tart.  Excuse the dust all over the cutting board...
Yes, it's true, the tarts are the only things I made during my 1.5 month hiatus.  Slacking off much? Meh.  But fear not! I did do a really cool project for Halloween, which you will see in my next post.